
Already have a blog and looking for more advanced blogging advice? Check out my second website; From Zero To Blog Hero, where I share advice on how to take your part time hobby blog to full time professional blog!
When I tell my friends I created my own blog they all look at me with surprised looks.
“When did you learn to code?” they ask. The truth is that creating a travel blog (or any kind of blog) has never been easier.
If you’re also wondering how it works, all the answers you need are here!
I decided to put together an easy step-by-step guide outlining how to create a blog in WordPress. How to create a blog can be broken down in the following steps.
Contents


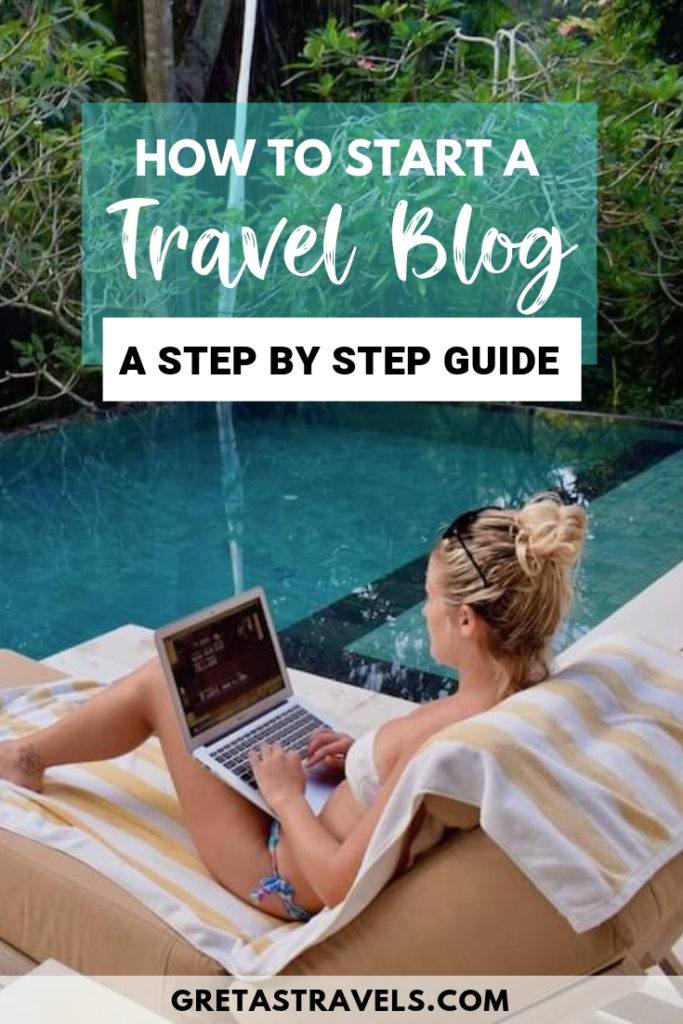
My favourite part of travel blogging, you can do it from anywhere!
How to create a travel blog
1. Pick a blog name
Now I’m probably not the best person to go around preaching about creating website names, given the originality of my own blog name.
But it’s easy to remember and it’s obvious what the website is about. It’s about travelling, and it’s about me.
I share my adventures and travelling advice in the hope that you guys find them useful and inspiring. There is no such thing as a “wrong” blog name, however there are a couple things that are good to bear in mind:
Don’t be too specific: If you start your blog when you’re travelling around South America, and call it something like “GretasSouthAmericanAdventure.com” and then you travel anywhere else, it won’t make sense anymore.
Choose something more broad that will always be applicable.
Make it short and simple: Make it something easy to remember and easy to type when they’re searching for it online.
Avoid hyphens, dots or dashes if you can, as it might confuse people searching for you if they don’t have the exact website name.
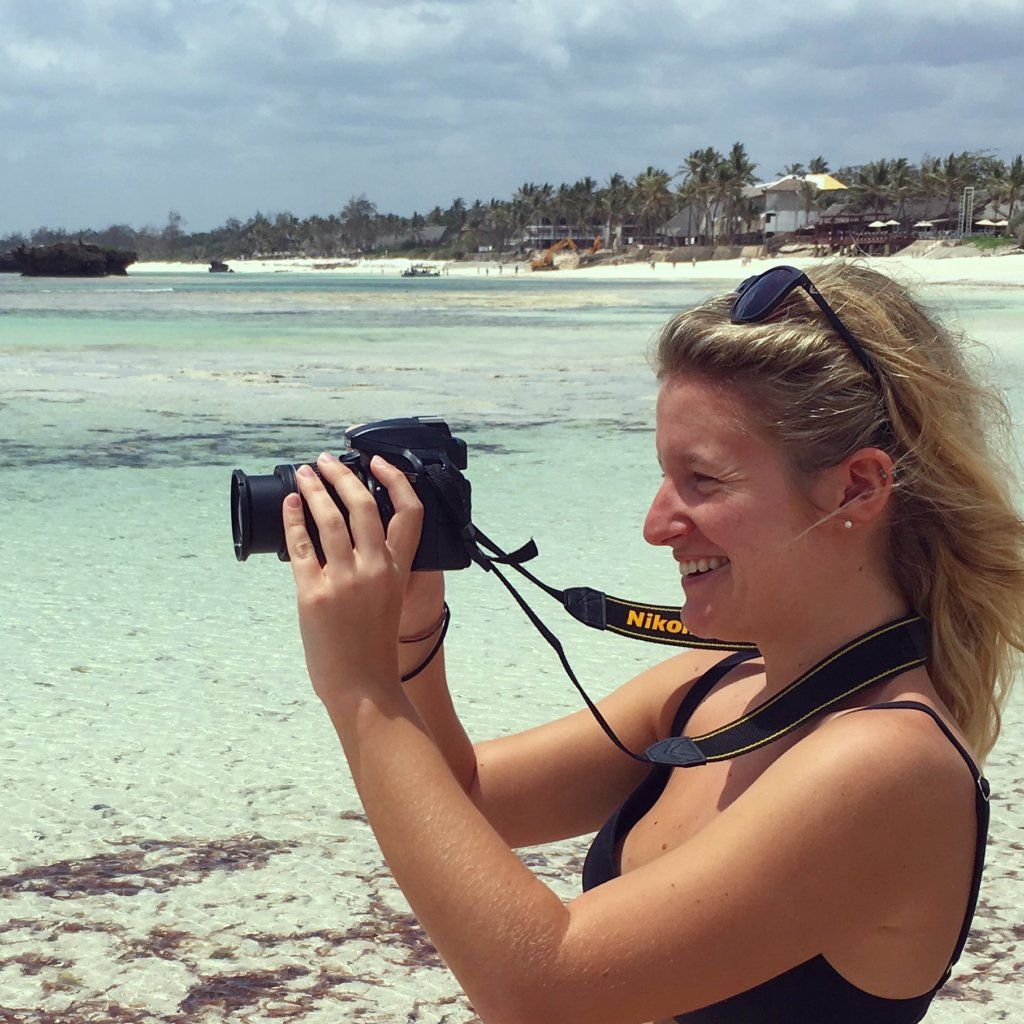

A travel vlogger in action, filming everything to share on my blog!
Once you’ve chosen your blog name you will have to register on both social media and as a website. Before you pay for the domain you’ll want to check if it’s available on social media first, and also as a website.
You want your brand to be cohesive, so you don’t want your blog name to be too different from your social media usernames.
I did not think of doing this for all social media platforms, since I created my Facebook page well after my Instagram and website my Facebook page username is /gretatravels, as opposed to all other social media where it’s @gretastravels with the middle “s” too.
This isn’t the end of the world, but if you can avoid it that’s preferable.


Check the name you want is available on social media
3. Register your domain and sign up for Hostgator
Now that you’ve chosen your blog name and secured it on social media, you need to purchase your domain name and your hosting (the magic computer science that is going to power your website).
There are a lot of hosting companies out there, after a lot of research I chose Hostgator as they are recommended as one of the best value for money, and are prone to fewer outages (you don’t want your website to go down because you chose a cheaper and not so good hosting platform).
They also have a really quick and friendly customer service if you are having issues (I’m not an expert coder so I can say that I have had quite a few of these which they helped with).
Here is a step-by-step guide on how to register your domain name:
1. First you need to pick you plan. If you are creating your first blog, you can comfortably go for the Hatchling Plan. It’s their most basic plan but it’s all you need for the time being.


Screenshot of the Hatchling Plan that you should select.
2. After you select a plan you’ll be sent to an order form, which is where you register your domain name.
It will also ask you if you want to purchase any additional add-on services, if you’re just starting out don’t worry, you don’t need these.
3. Once you’ve paid you will see a recap screen with all your account information and domain name, and that’s all there is to it! You’re now ready to play around with Hostgator and set up your actual blog!


This is where you insert your chosen blog name and it checks if its available
4. Install WordPress
After you’ve sorted your domain name and hosting package with HostGator you need to install WordPress, this is what you will actually be using on a day to day basis to run your website. To install WordPress follow the steps below:
1. In the same screen as above, click on “hosting” and then in the next screen “Get started with WordPress today”. On the next screen click on WordPress.


Select “Get started with WordPress”
2. Select your domain name from the dropdown menu and hit next. In the next screen you need to insert your user information.
The Blog title will presumably be your blog name, and it helps to have the save username too, so when you reply to comments on your posts, people know you’re the writer
3. Once WordPress is installed it will show you a screen with your username and a preset password. You can reset this by clicking on “reset password”, and they’ll send you instructions on how to do so.
We’re almost there now! The hard part is done now, you just need to pick a theme to make your blog look pretty, and some plugins to make it functional and then you can start writing!
5. Pick a theme
You will need to pick a theme for your website, the design of your blog will make people decide whether they want to stick around even before they get a chance to read your content.
There are so many different themes available online, you just need to choose the one that suits your brand and blog best. Your main two options when choosing a theme are:
Free themes: There are a lot of free themes out there (you can find them on wordpress.org) which are a great option if you want to keep costs low. However I have heard that these can sometimes mess up as your website grows.


There is a big free themes library available on WordPress.org
Premium themes: If you want to play it safe, and want to have a theme that looks professional from day one, you should invest in a premium theme.
One of the best places to buy a premium is StudioPress, this is where I bought the theme for Greta’s Travels that you see now.
Their customer service is amazing and if you have any questions on how to customize something, or fix it after you attempted and then broke it (yes this happens to me a lot) they are always really quick at responding and are super helpful.


The homepage of my blog, a StudioPress theme that I then customised
Once you have chosen your theme you will have to install it into WordPress.
It will come as a .ZIP file when you download it, that you just upload into WordPress by going in the left-hand column to Appearance > Themes > upload.
If you get one from StudioPress they have a manual that you can follow to customize it how you want it.
6. Install your plugins
Once you’ve installed WordPress go to your domainname.com/wp-admin. You will be able to log in with the username and password that you created, and you’ll land on your dashboard page.


Select Plugins on the side menu
The first thing you want to do is install plugins. Plugins are a way to add functionality to your website, without having to do any fancy coding (eg. The social media icons that you see on the side / bottom of this post to share it are a plugin).
There are thousands of different plugins that do loads of different things, whatever feature it is you want on your website, there is most likely a plugin for it. The key ones you should downloading are:
Akimset: This automatically filters comments left on your site to avoid spam comments.
Yoast SEO: This is considered the best SEO plugin available. It combines a lot of different features such as creating meta tags, description for posts, optimizing titles and more, that allow you to customize your post and optimize it for SEO.
SumoMe: This is a social sharing plugin. It’s the one that powers those social media share icons on the side / bottom of this page. Which by the way, if you want to click and share this with your friends would make me very happy!
Google Analytics for WordPress: Even if you’re not planning on become a professional blogger it’s important to know who your readers are and what they like reading, and this is what Google Analytics will show you.
BackWPup: Once you start writing the worst thing that could happen is losing your work, BackWPup will make sure this doesn’t happen. You can schedule backups so that even if you forget, it’s working automatically in the background.
7. Start writing!
You’re all set on the basics and it’s time to start writing!
Yes there are a lot of other things you will need; an about page and contact page, social media buttons, images to upload etc but these 6 steps I just outlined are the initial ones you will need when you create your own blog.
I hope you found this useful, if you have any questions just leave me a comment below and I will do my best to answer.
I find that the most popular posts are either personal ones (like when I talked about quitting my job), top 10 lists (like this travel bucket list) or destination guides.


Time to start writing!
If you’re planning on starting your own blog, just be aware that running a travel blog is a lot more work than it seems. Check out this post about the behind the scenes of travel blogging.
Also, as a little ending note, yes the links to HostGator and StudioPress in this article are affiliate links.
If you decide to create your blog using the resources I suggested, and purchase your hosting plan or theme by clicking the links in this article I will get a small commission.
I’m not recommending them because of the commission, I’m recommending them because they are the resources I personally use for my own blog, and I believe they are the best ones out there.
Purchasing your hosting domain and themes from the links on this page is the best way for you to support this blog, and I’ll be very grateful if you do so.
Enjoyed reading how to create your own blog or website? Pin it!


Jack
Thursday 10th of January 2019
Hey Greta! I've really enjoyed reading your blog -- keep it up. Here's my question: I've used WordPress in the past for personal blogs and websites, and I know it's possible to register a domain name directly through WordPress. Could you outline the benefits of purchasing a domain name through a site like Host Gator as opposed to just registering the domain on WordPress? Probably a newbie question, and I'm guessing it has something to do with monetizing your content, but it's something I've been wondering about!
Greta
Tuesday 15th of January 2019
Hi Jack, thanks, glad you like my blog! I'm not actually the best at all the techie side of things. I purchased my domain name on Hostgator as that is who I had my hosting with. I'm sure there are pros and cons of each but you're probably better off reading them in a WordPress forum. Sorry I can't be of more help!
Leandri
Thursday 1st of November 2018
Hi Greta, Firstly, thanks so much for the article. It's really helped me ! My question for you is for starting off, should I choose baby plan (Web hosting), standard plan (WordPress Hosting) or business plan (Cloud Hosting) ? Really appreciate it, Leandri.
Greta
Thursday 1st of November 2018
Hi Leandri, thanks for the comment, glad you could find my post useful! I think if you're starting out the baby plan (web hosting) is good enough (that's the same on I started with). However you should choose depending on your personal needs, I suggest reading further reviews online to get a better idea of what each plan offers. I hope this helps :)