
Ella Rock is one of the most beautiful viewpoints in Sri Lanka. When we arrived in Ella we knew we wanted to do some hiking, and as soon as we saw photos of Ella Rock we knew had to hike it.
However Ella Rock isn’t a very easy hike to do, mainly because of the lack of clear directions indicating the trail. We hiked Ella Rock without a guide by following the instructions our hostel gave us, but it was still a challenge.
In this guide I have outlined step-by-step the exact turns and trails you need to follow to reach the Ella Rock peak. If you follow these instructions, you’ll be able to hike Ella Rock without getting (too) lost. So let’s dive in!
Contents
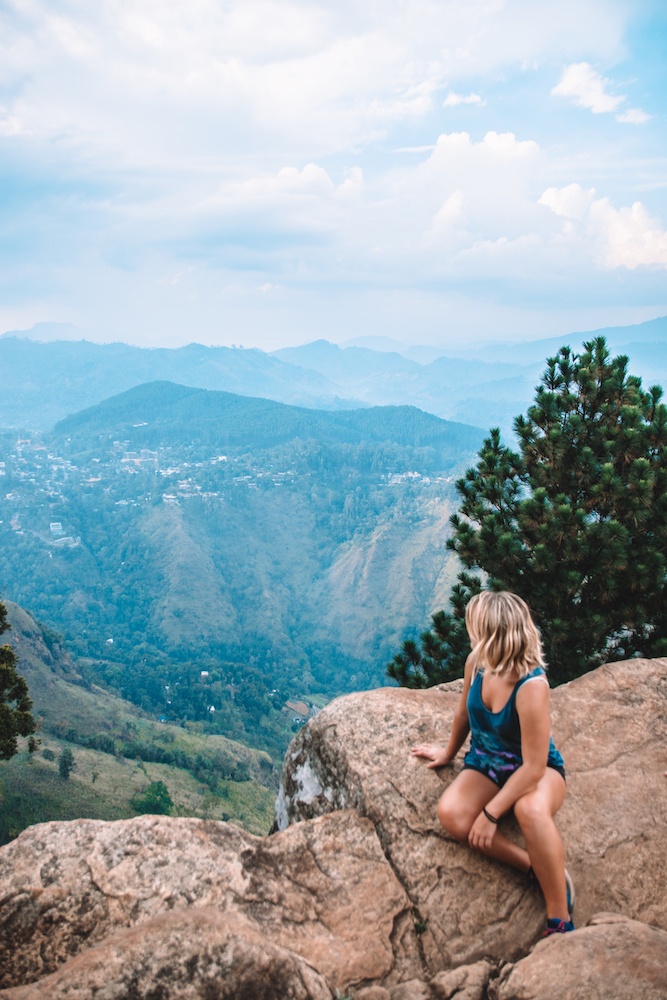

The view from the top of Ella Rock in Sri Lanka
Some information about Ella Rock
The Ella Rock hike is approximately a 10km round trip, which can take anywhere between 3-5 hours. The terrain itself isn’t particularly hard, but the challenge lies in following a route that isn’t marked correctly.
We were actually told by our hostel to not follow the signs, since these have purposely been put to point in the wrong direction.
The idea is that you follow the wrong signs, get lost, and then a friendly local offers to take you to the peak in exchange for some money.
The route he then takes tends to be even longer and more complicated, so that you don’t realise how easy it could have been even without a guide. It’s a bit of an adventurous hike, and the incredible panoramic views make it well worth it.

The view from the top of Ella Rock in Sri Lanka
Best time to hike Ella Rock
You want to hike Ella Rock either very early in the morning or late in the afternoon. It gets incredibly hot in Sri Lanka in the peak hours of the day and you don’t want to be hiking under the sun.
However don’t leave it too late in the afternoon. We set off around 3PM and after reaching the peak, ended up running back down as we didn’t want to get caught on the train tracks in the dark.
| READ MORE: SRI LANKA 2-WEEK ITINERARY |

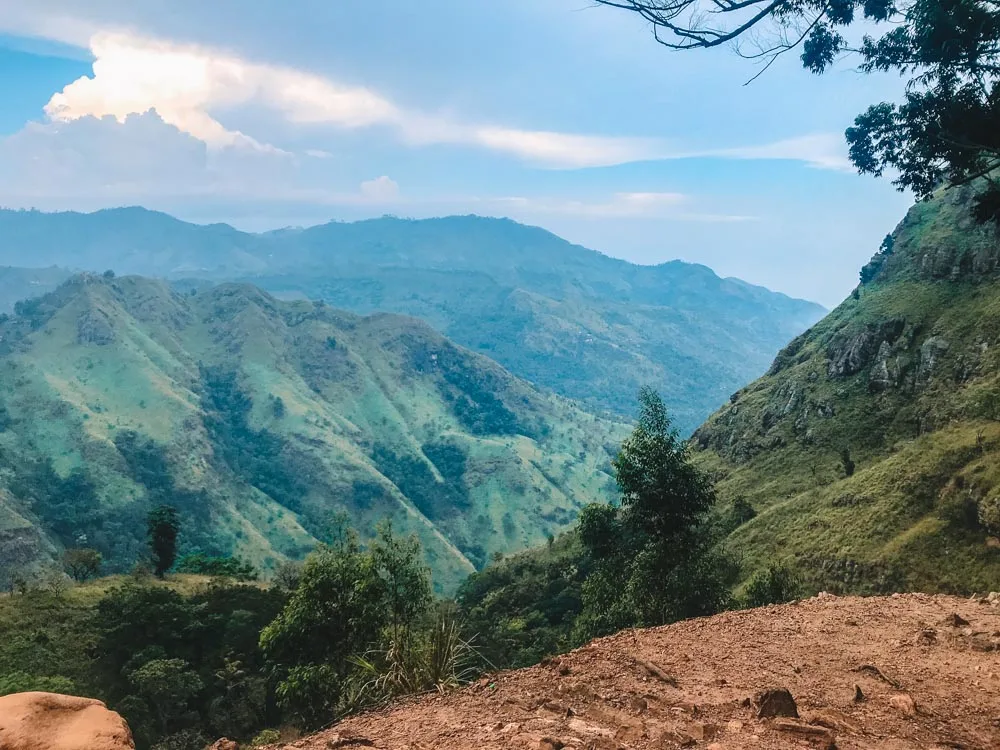
The view from the intermediate viewpoint on the way to Ella Rock
How to hike Ella Rock without a guide – step-by-step instructions
It’s definitely possible to hike Ella Rock by yourself without a guide. You might find yourself at a bit of a loss at times but just follow these instructions and you will be fine.
Part 1 – Along the train tracks
I divided the hike into three main sections. This first section is on the train tracks. You set off from Ella train station and walk on the train tracks towards Kithalella.
When they first told me I had to walk on the train tracks I was a bit wary, after all the trains go past here! However you don’t have to worry.
The train to Ella is a very scenic one, meaning it goes quite slowly and it’s not very frequent. You will be able to hear it long before it arrives.


If a train comes while you’re on the tracks, just hop to the side!
If a train does come while you’re on the tracks, just hop away from the tracks and into the grass on the sides. Locals and tourists alike walk on the tracks and you will walk past lots of other people.
After about 20-30 minutes walking on the tracks you will reach the station of Kithalella. Keep going along the train tracks.


Kithalella station, keep going, you’re on the right track!
After about 10 minutes from Kithalella station you will see a yellow sign on the left saying 15 km/h. This is where you have to get off the train tracks, turn left and into the fields.
The start of the Ella Rock hike is between waymarkers 166 ½ and 166 ¼. The yellow sign is very easy to spot but in case it’s not there anymore, keep an eye out for the waymarkers. If you see waymarker 166 ¼, you’ve walked too far.


The yellow 15 km/h sign where you turn left
Part 2 – Through the tea plantations and tall grass
The second section of the hike was the confusing part. As soon as you come off the train tracks you will cross a small bridge.
After the bridge there will be the first fork in the road. There is a path on the left that goes steeply uphill through tea bushes, and a path on the right that goes around this little hill.
There are signs pointing to the path on the right saying “This way to Ella Rock”, “The RIGHT route to Ella Rock” and similar messages. I know it seems counter intuitive but ignore these!
These are the signs I mentioned earlier that will lead you the wrong way, to inevitably get lost so you have to hire a local guide.


Take the uphill path on the left through the tea bushes
Instead, take the path on the left through the tea bushes. The tea bushes will soon give way to tall grass. You’re on the right track, keep going!
The trail through the tall grass is fairly easy to follow. There’s a main trail that’s slightly more beaten and wider; you want to follow that one. The smaller trails and forks go into people’s houses and fields.
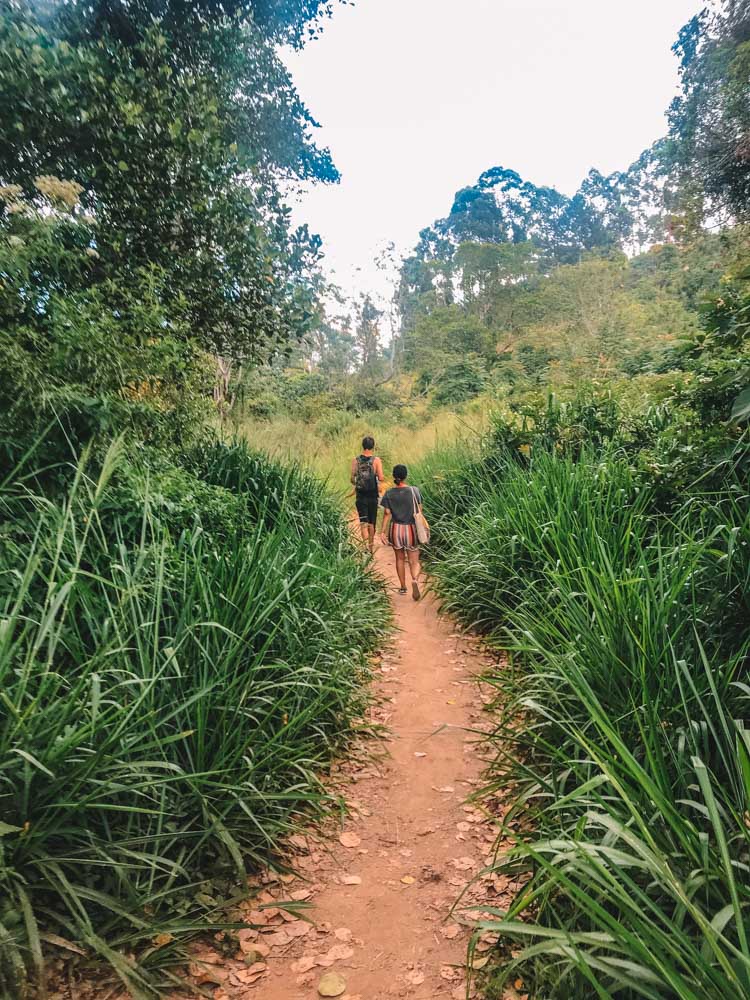

Follow the trail through the tall grass
Part 3 – Through the forest & up Ella Rock
Once you’re past the tall grass, you’ve completed the tough part of the hike! The third section of the Ella Rock hike is more challenging physically, but fairly straightforward geography wise.
After about 30 minutes in the tall grass you will reach a more rocky terrain with trees. Proceed uphill through the trees and you will reach a flat plateau soon.


The rocky terrain in between the trees
This is an intermediate viewpoint. It’s not as high as the peak and it doesn’t have full 360° views, but it’s still a nice spot to take a breather.
Catch your breath and drink some water, you’re almost there!


The interim viewpoint during the Ella Rock hike
From the intermediate viewpoint you will find yourself at the base of a steep hill with lots of trees. You just have to keep going up. There’s one main path at the base, but as you go up the trails all get a bit jumbled up.
There isn’t one set trail, more like lots of little paths that zig-zag their way up through the trees. As long as you’re going uphill you’re going in the right direction.
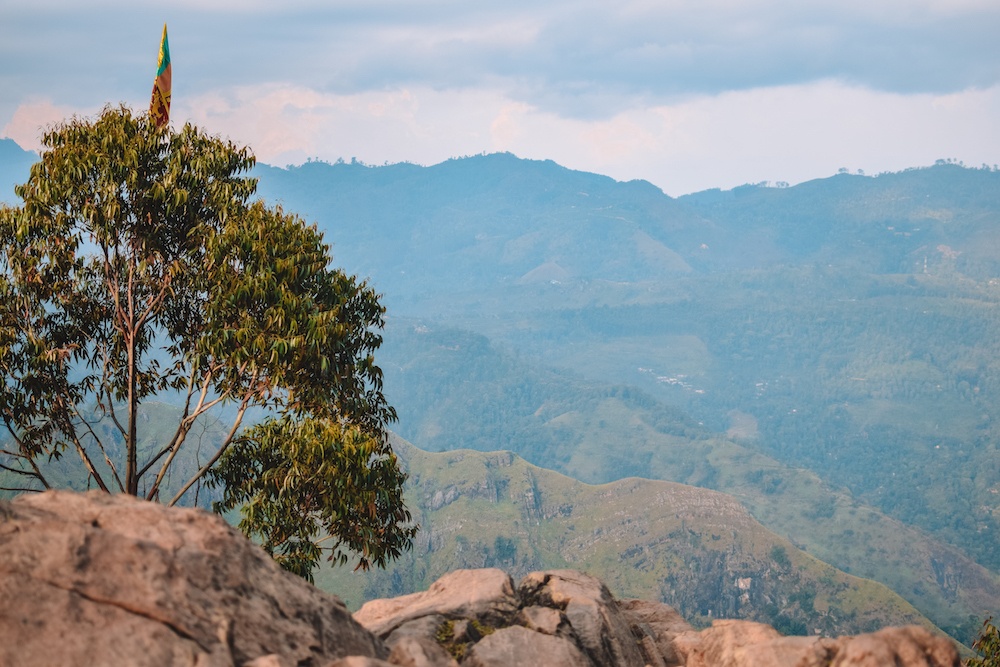
Once you’re out of the trees and reach the next plateau, you’ve made it! You will see a little hut and a Sri Lankan flag that marks the peak of Ella Rock. Now sit back and enjoy the views.


The final section of the hike; uphill through the forest!
Our experience & what to expect hiking Ella Rock
In took us a total of 2 hours to reach the peak of Ella Rock. We went down some wrong turns but always corrected ourselves before walking too far.
We might have wasted a bit of time here and there but we were mostly on the right route. I personally really liked Ella Rock.
Despite the difficulties finding the route I enjoyed the challenge and the feeling of adventure. The views from the top of Ella Rock were absolutely incredible and well worth the efforts.
What amazed me most about the views was just how close the other mountains felt. It didn’t feel like a usual hike where you’re high above the other hills and landscapes.
From Ella Rock you look down over the edge and you can see the valley and other hills around you.
We hiked Ella Rock on the same day that we hiked Little Adam’s Peak and honestly and I don’t know which one was best. Both hikes were absolutely incredible. A great day all in all!


Enjoying the view from the top of Ella Rock


Enjoying the view from the top of Ella Rock
Do you need a guide to hike Ella Rock?
Generally speaking, no, you can hike Ella Rock without a guide. We did it without a guide and even if we wandered a bit around the tea fields, we eventually found our way.
However we were also a group of four people. If I was travelling solo, I would have probably either joined a tour or looked for a local guide.
When we returned to our hostel we met a German girl who said it took her seven hours to do the full Ella Rock hike, since she kept getting lost but she refused to hire a local guide.


My friend Preiti enjoying the view from Ella Rock
Ultimately it’s up to you if you prefer a bit of a solo adventure or you would rather avoid getting lost amongst the Sri Lankan countryside. One great option you can do is this Ella 3 icons combo tour.
Besides hiking Ella Rock with a guide it also takes you to Little Adams Peak and Nine Arch Bridge, the two other main attractions in Ella.
It’s a great option for those travelling on a tight schedule, who want to tick off all the main Ella spots without wasting time getting lost on one hike.
Click here to book the Ella 3 icons combo tour!
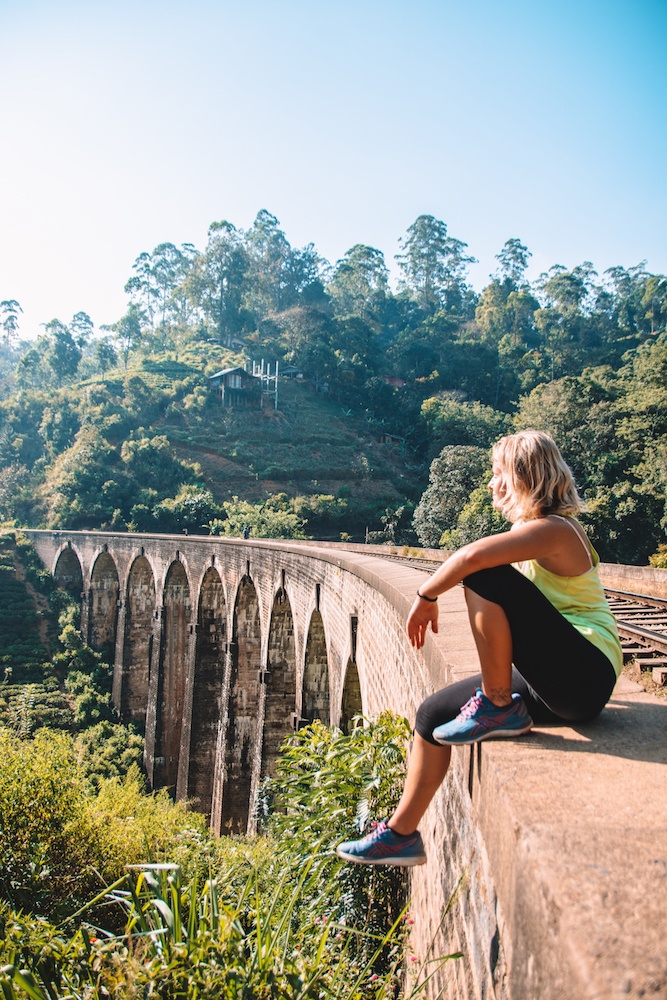

Nine Arch Bridge in Ella, Sri Lanka
What you need to hike Ella Rock
Ultimately you don’t want to bring too much with you on this hike, since it can get quite tough. However some essentials you need to bring include:
Solid hiking shoes – you should always be hiking in appropriate footwear, but especially on this trail. At one point a scorpion crossed the path in front of me and I almost stepped on it, if I’d done it in flimsy shoes it wouldn’t have been ideal.
Water bottle – and make sure it’s full! I like the stainless steel bottles because they keep the water cold. There are some shacks here and there selling snacks and water but make sure to have plenty with you.
Snacks – like above, there are some shacks along the train tracks and in the initial tea bushes sections of the trail, but it’s easier if you bring your own.
Sunscreen – at whatever time of the day you do this hike, the Sri Lankan sun is relentless. You don’t want to get sunburnt while hiking.
Hat – like above, bring a hat so you’ve got some shade and protection from the sun.


The view from the top of Ella Rock
Where to stay in Ella
In Ella we stayed at the Hangover Hostel. We loved it so much we ended up changing our bookings later in the trip to stay at another Hangover Hostel in Mirissa.
The dorms are clean, with comfortable beds, spacious lockers and a big communal space. It’s also perfectly located close to the Ella train station for all your hikes and evenings in town.
If you don’t want to stay in a hostel a great option is Mountain Heavens. This hotel has an infinity pool overlooking the hills, and is also located half way along the tracks. A prime position to start your Ella Rock hike!
Click here to book your stay at Mountain Heavens in Ella!


The infinity pool at Mountain Heavens in Ella, Sri Lanka
Final thoughts on doing the Ella Rock in Sri Lanka
When we hiked Ella Rock all the information I could find online wasn’t very clear, which is why I wanted to put together a step-by-step guide with pictures.
I hope that by following these instructions you will be able to reach the Ella Rock peak alone.
If you have any questions just let me know in the comments below! Or if you used this guide to do the Ella Rock hike more recently and something has changed, please let me know in the comments.
The incredible hikes were one of my favourite things about Sri Lanka. We went on lots of awesome adventures like elephant safaris, chasing waterfalls and exploring the beaches of Mirissa, but the inland hikes were amongst my favourite experiences.
Enjoyed reading about hiking Ella Rock without a guide? Pin it!

