If like me you’re a Lord of the Rings fan, New Zealand is probably pretty high up on your travel bucket list. Or if you’re not as big a nerd as me you might just want to visit New Zealand regardless of your movie passions.
Either way, New Zealand is a beautiful country with the most stunning natural landscapes, which I absolutely loved visiting and recommend to everyone.
I spent 7 days in the South Island of New Zealand and did a self-drive road trip from Christchurch to Queenstown in a JUCY car.
In this post I’ve outlined our exact New Zealand 7-day itinerary, and any additional information I thought you might need to plan your own New Zealand South Island road trip.
So turn on Lord of the Rings in the background, take out that New Zealand travel guide, and start planning your New Zealand itinerary!
Contents
- 1 Useful things to know for a New Zealand South Island road trip
- 2 Our 7-Day Itinerary in New Zealand, South Island
- 2.1 Day 1: Arrive in Christchurch & hike the Sugarloaf
- 2.2 Day 2: Road trip to Lake Tekapo
- 2.3 Day 3: Drive to Mount Cook National Park & hike the Hooker Valley Track
- 2.4 Day 4: Hike in Wanaka & drive on to Queenstown
- 2.5 Day 5: Adventure activities in Queenstown
- 2.6 Day 6: Milford Sound cruise
- 2.7 Day 7: Last hike & fly out from Queenstown
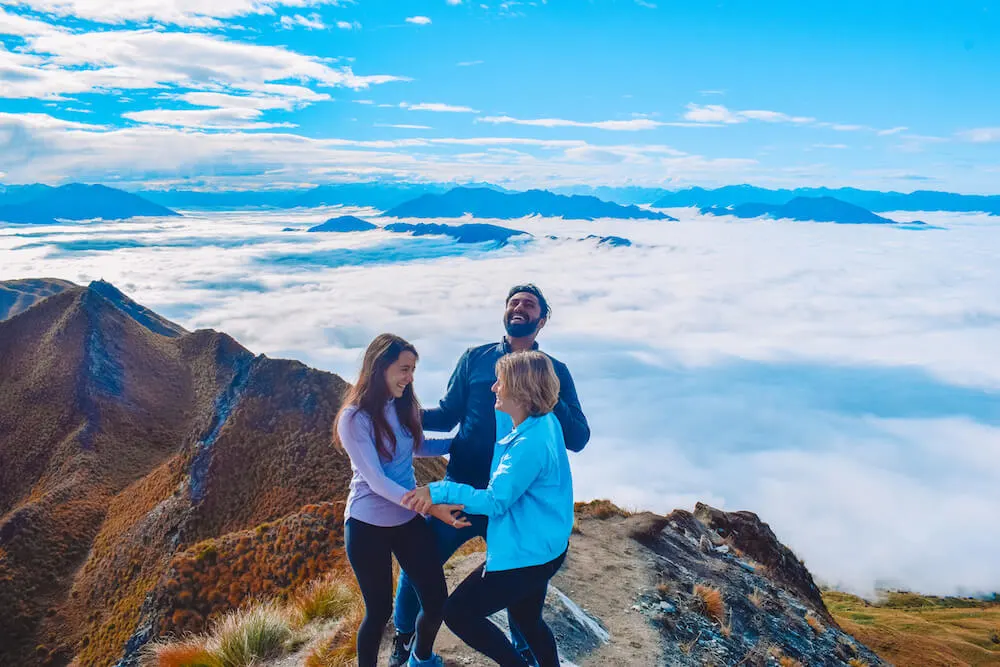
The New Zealand road trip squad
Useful things to know for a New Zealand South Island road trip
Before we jump straight into my New Zealand South Island itinerary, I’ve included below some useful information to help you plan your own New Zealand road trip.
Renting a car & driving in New Zealand
Everybody says that to truly experience New Zealand you need to rent a car and do your own self-drive trip. That no organised tour or bus will give you the freedom you need to really see this beautiful country.
Having heard all this from different groups of friends, even if neither my friends nor me are the best drivers, we were committed to doing our own New Zealand road trip.
We rented a car with JUCY World for a week, and drove from Christchurch to Queenstown. We were a bit concerned about the mountain roads being hard to drive on.
However if you just remember to be sensible at all times; respect the speed limit, don’t overtake if there’s no overtaking lane and respect the traffic laws you will have no issues (might seem like obvious advice but we saw a lot of bad drivers while we were there)!
Many travellers also choose to do a New Zealand campervan trip. It will obviously be more expensive than a car, but it will allow you to save money on accommodation, plus, it gives you even more freedom!
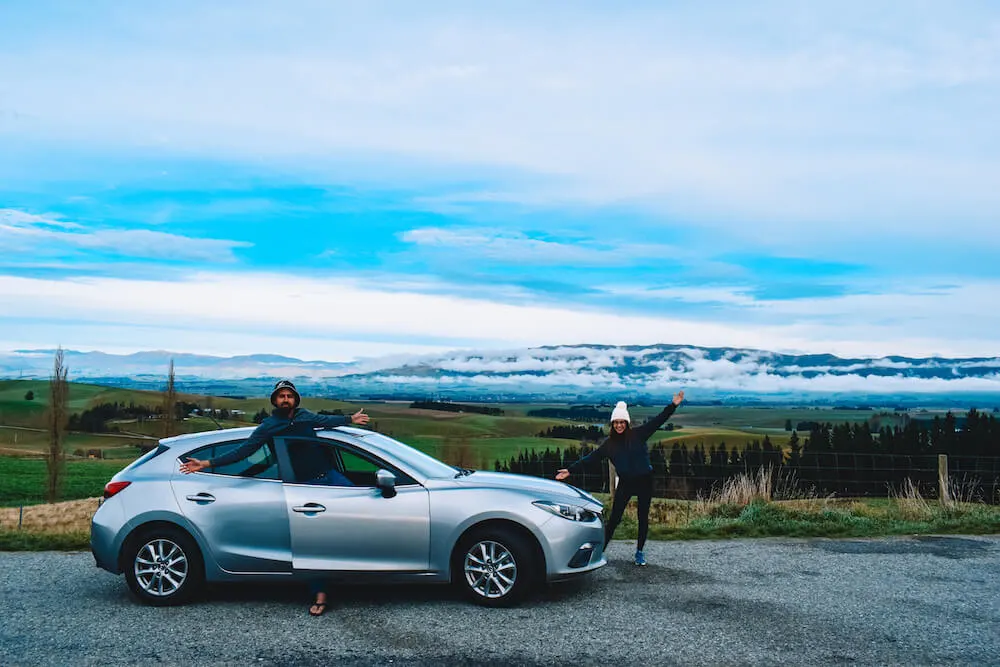
Enjoying beautiful landscapes during our New Zealand South Island road trip with JUCY World
Currency
The currency in New Zealand is the New Zealand dollar (NZD). The exchange rate when we visited was pretty good, a whooping 1 GBR : 1.91 NZD.
We found most things (be it food a the supermarket, a dinner out, cocktails etc) cost more or less twice of what they did back home though so it wasn’t a particularly cheap trip.
Cuisine
I’m not sure what I was expecting from New Zealand cuisine but I found it a bit underwhelming.
There was nothing wrong with it but most restaurants were very similar to those you would find back home in London, and we never really found anything “typical New Zealand”.
That said I’ve had some of the best burgers ever on this trip, so if you like burgers make sure to have one in New Zealand!
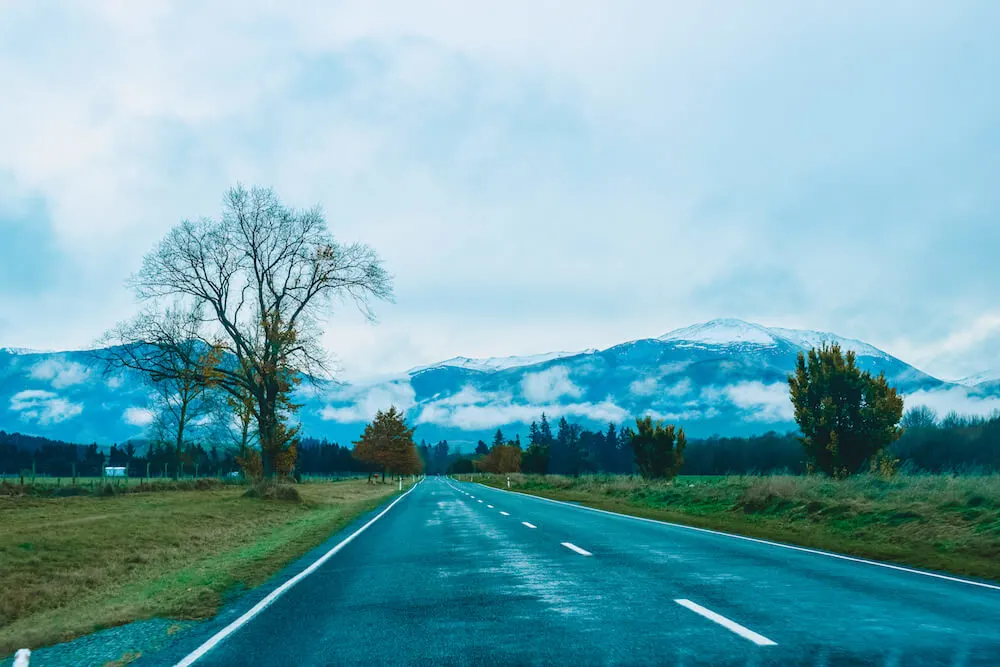
Somewhere on the road during our New Zealand South Island road trip
Weather
We visited New Zealand at the start of May, which is autumn time there. It was considerably colder than we expected and were ready for.
Temperatures ranged from a high of 12°C to a low of 3°C during the day and well below 0°C at night. When we decided to go star gazing in Lake Tekapo we had to take duvets from the hostel with us.
They say there are high chances for rain in May (130mm across 17 days) but we were lucky enough to only catch it one day out of seven, and were able to do all our hikes even if not in under the sun at least in cloudy but dry weather.
If you’re not sure what to pack, check out my Iceland summer packing list (different country and season but similar weather conditions) or this New Zealand winter packing list for ideas.
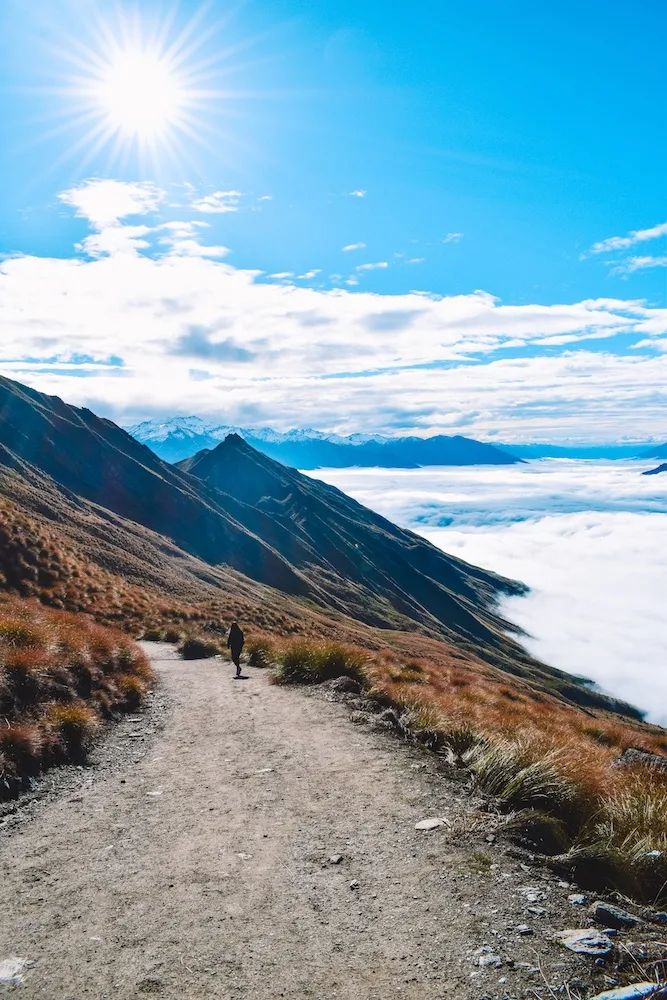
Approaching the summit of Roys Peak, high above the clouds
Our 7-Day Itinerary in New Zealand, South Island
This is the exact 7-day itinerary I did on my recent trip to New Zealand.
As we only had a limited amount of time, we decided to only visit South Island, as it seemed to have more activities and places we thought we would enjoy exploring.
This itinerary is only an indicative guide of how you could spend one week doing a road trip in the South Island of New Zealand.
It’s pretty packed as that’s what me and my friends love doing, edit it accordingly to create your own perfect New Zealand 7-day itinerary!
Day 1: Arrive in Christchurch & hike the Sugarloaf
We flew into Christchurch from Sydney early on the first day so that we could spend the rest of that day exploring the city and surroundings.
We had a lot of hikes planned for this trip so we decided to start off easy with a 1-hour loop hike for the first day.
We drove for about 20 minutes out of Christchurch and towards the Sugarloaf Scenic Reserve, a Port Hills landmark with a peak topped by a 120m television transmission tower and a popular hiking destination from Christchurch.
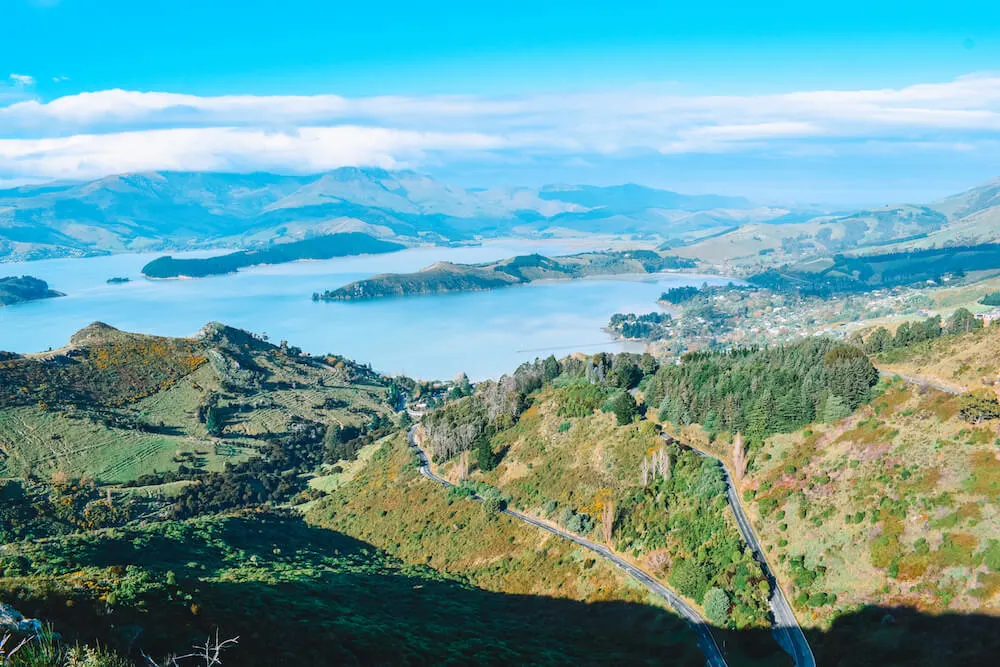
The view from the top of the Sugarloaf Scenic Reserve, New Zealand
We drove to the coffee shop “The Sign of the Kiwi” so that we could park there and start our hike somewhere where we could ask for advice on the best trails, what the hiking trails at this time of year and other information.
At the base of the hill is a sign with the name of the hikes, a map of the trails, information such as incline, length and estimated time it will take, and brief descriptions of all the hikes.
That way even if you’re like us and just rocking up to a hike with little information about it you can still figure out what to do. We decided to hike Mitchells Track, a 2.5km trail that should take around 1 hour.
If you’re a solo travellers and don’t fancy hiking alone, you can join a guided walk, to ensure you don’t get lost, have some company on the trails, and have a local guide share some interesting insights during the trail.
Click here to book your Christchurch Guided Walk & Scenic Drive!
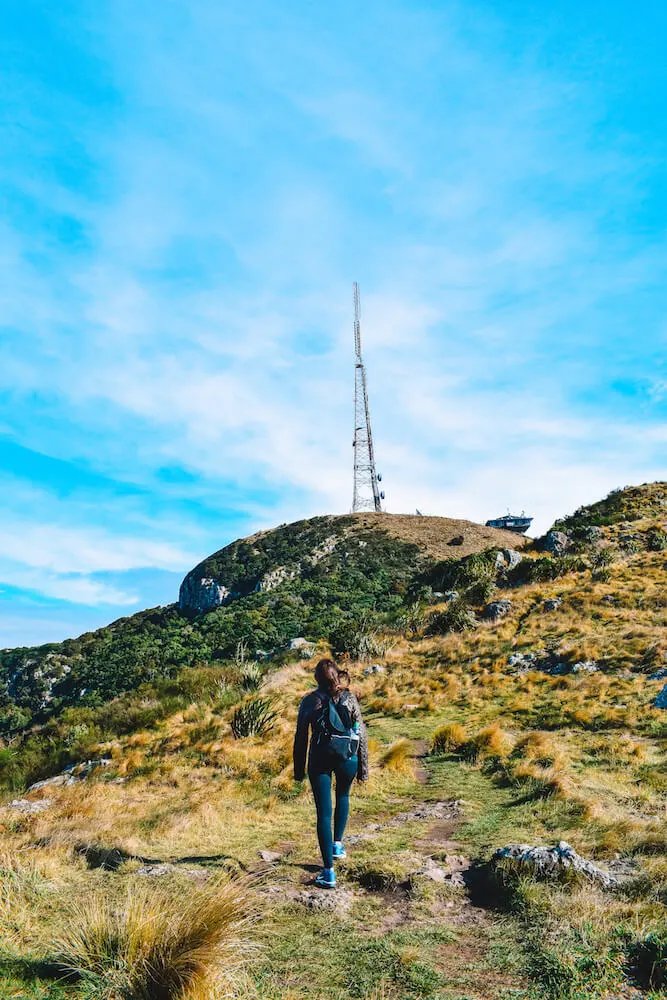
Hiking below the television transmission tower of the Sugarloaf Reserve
It took us longer to do the hike since we had sandwiches with us and we decided to have a picnic at the peak. We also took detours every now and then to search for the best viewpoint.
The trail is pretty easy; there are some steep parts but also a lot of sections that are quite flat.
The views all throughout are simply stunning, considering it was one of the easiest and shortest hikes of the trip it definitely had the best ratio of views seen to effort put in to see them (not sure that’s a ratio that exists but you get what I mean).
We spent the rest of the afternoon exploring the centre of Christchurch and then went to bed early so that we would be ready for the start of our road trip the following day.
A fun way to discover Christchurch is to join this vintage tram & gondola ride tour. That way you’ll see all the highlights of the city, plus a pretty cool viewpoint!
Click here to book your vintage tram & gondola ride tour in Christchurch!
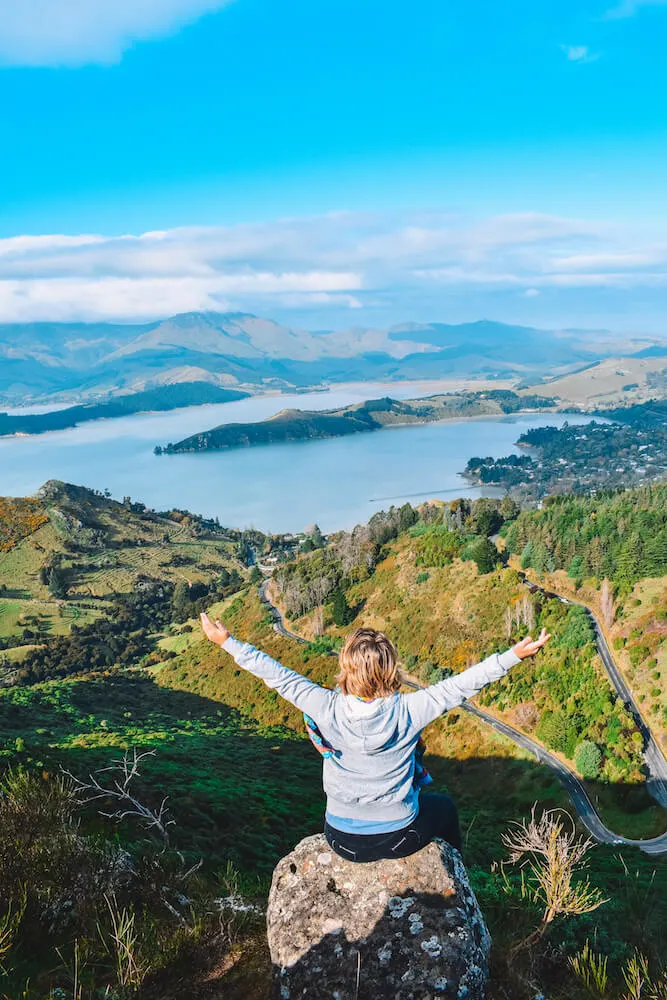
Enjoying the view from the peak of the Sugarloaf, New Zealand
Where to stay in Christchurch
There are lots of places to stay in Christchurch, I listed below some of the best ones for every budget.
Budget: City Centre Motel – This is where we stayed. It’s a perfect budget stay in Christchurch; it’s quite basic, but very centrally located, with spacious and clean rooms.
Check out the prices and availability at City Centre Motel!
Mid-range: Wyndham Garden Christchurch Kilmore Street – Treat yourself without breaking the bank. Centrally located with spacious rooms, the rooms even have a laundry and drier!
Click here to see prices and availability at the Wyndham Garden Christchurch Kilmore Street!
Luxury: The George – This luxury property is the perfect place to treat yourself. Located next to Hagley Park North, it’s close to everything in Christchurch, but in a tranquil area.
Click here to book your stay at The George in Christchurch!
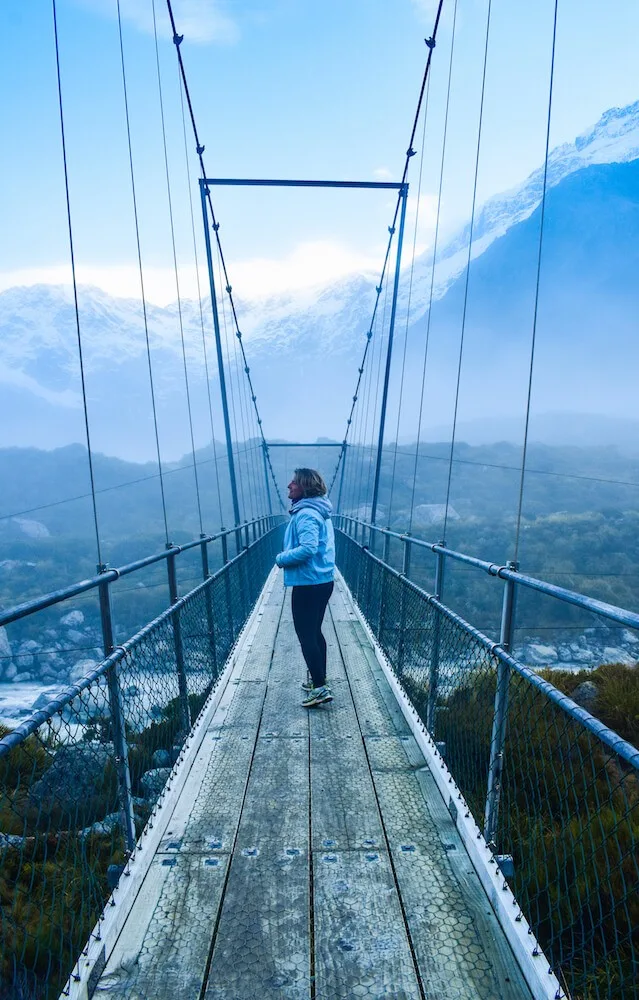
One of the suspension bridges of Hooker Valley Track in Mount Cook National Park, New Zealand
Day 2: Road trip to Lake Tekapo
On the second day we started our actual New Zealand self-drive road trip.
We set off at 8AM so that we could take our time with the 3-hour drive from Christchurch to Lake Tekapo. Most of this drive is on the highway so it’s pretty smooth and easy.
As we approached Lake Tekapo the drive became more scenic and even if it wasn’t highway anymore and with more bends it was still an easy drive.
As soon as we drove through the mountains and saw the first glimpses of the turquoise water of Lake Tekapo we fell in love.
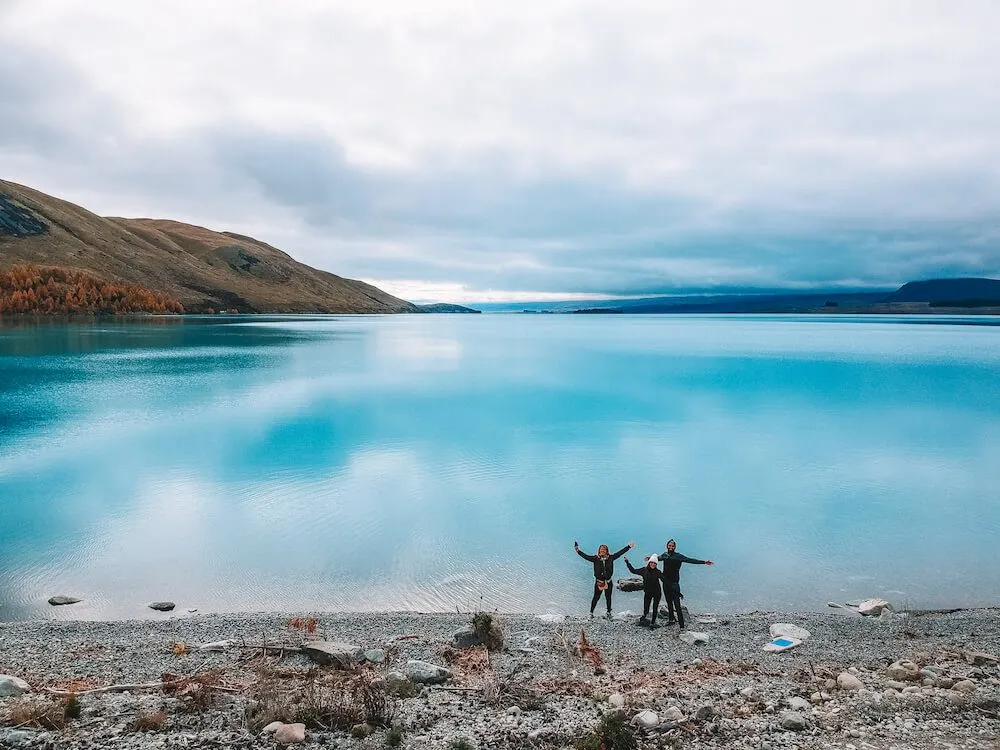
Playing around on the shore of Lake Tekapo, New Zealand
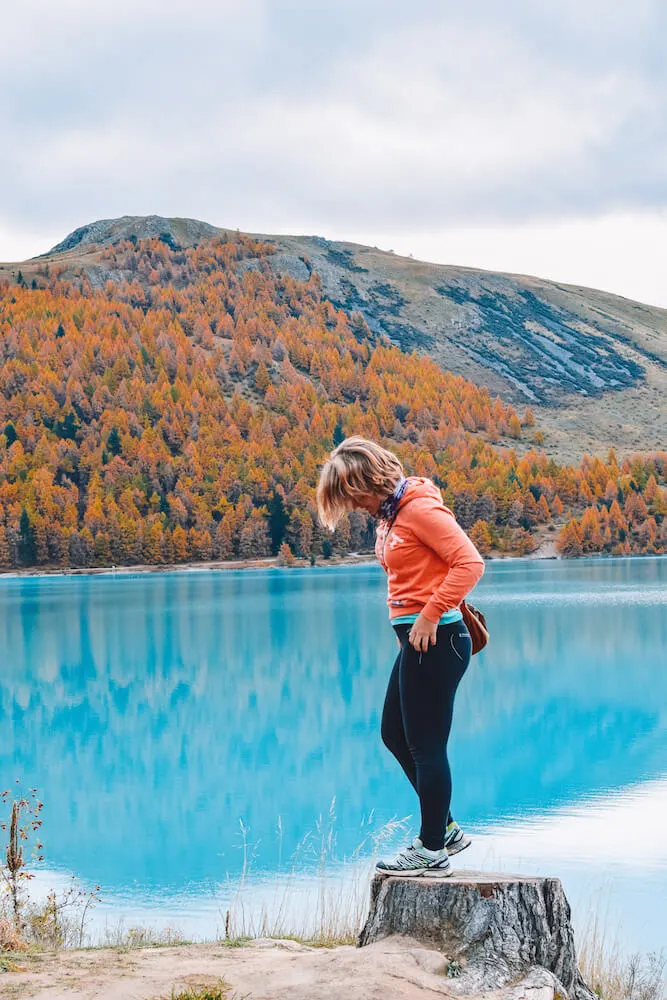
Lake Tekapo, New Zealand
We did a few stops along the way and arrived in Lake Tekapo around noon. We drove to our hostel to check in and ask about the hikes in the area. In case you’re wondering, yes we did this a lot.
We researched all the hikes online beforehand, but every time we got to a destination we always asked a local information desk or our hostel reception for updates about the hikes.
Just to make sure we had the most up to date information, that the hike was indeed open and not closed for snow or bad weather.
From our hostel we drove for 3 minutes to Tekapo Springs, where we parked the car and set off on our hike of Mt John.
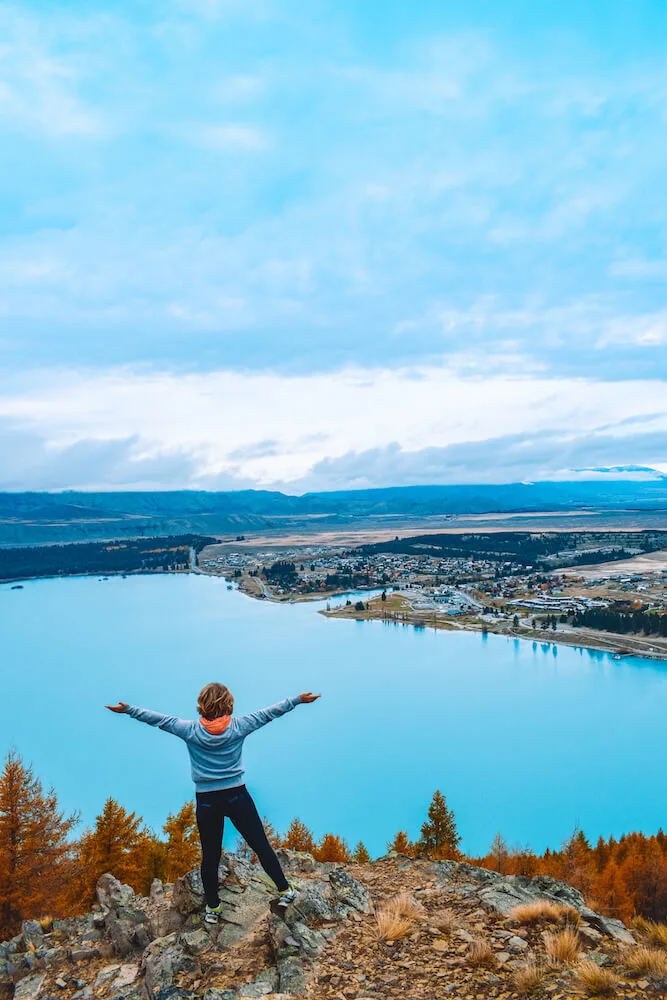
The view over Lake Tekapo from Mt John Summit, New Zealand
There are two hikes that you can do of Mt John; Mt John Summit Circuit Track and Mt John via lakeshore.
Both hikes start at the same spot, with a steep rise through the New Zealand forest. Once you get past the tree line you will find yourself walking around open tussock hill slopes.
At the top of Mt John you will find the Mt John Observatory and a café where you can relax for a bit and grab some food and drinks to freshen up after the steep hike.
From up here will have a fantastic view over the surrounding mountains and lakes, which will make the hike up well worth it!
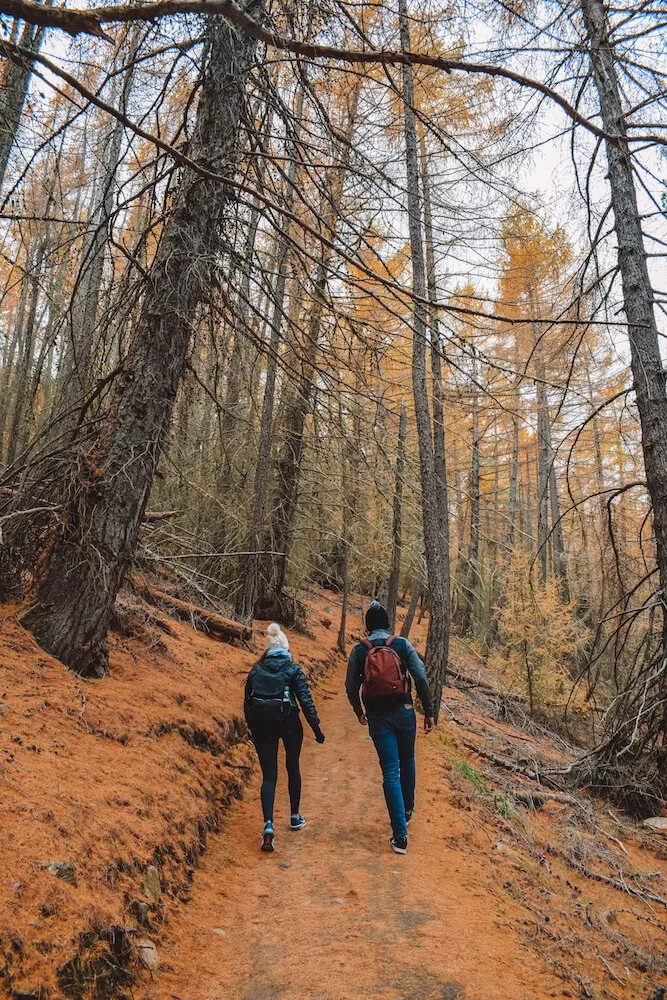
The forest at the start of Mt John Summit Track in Lake Tekapo, New Zealand
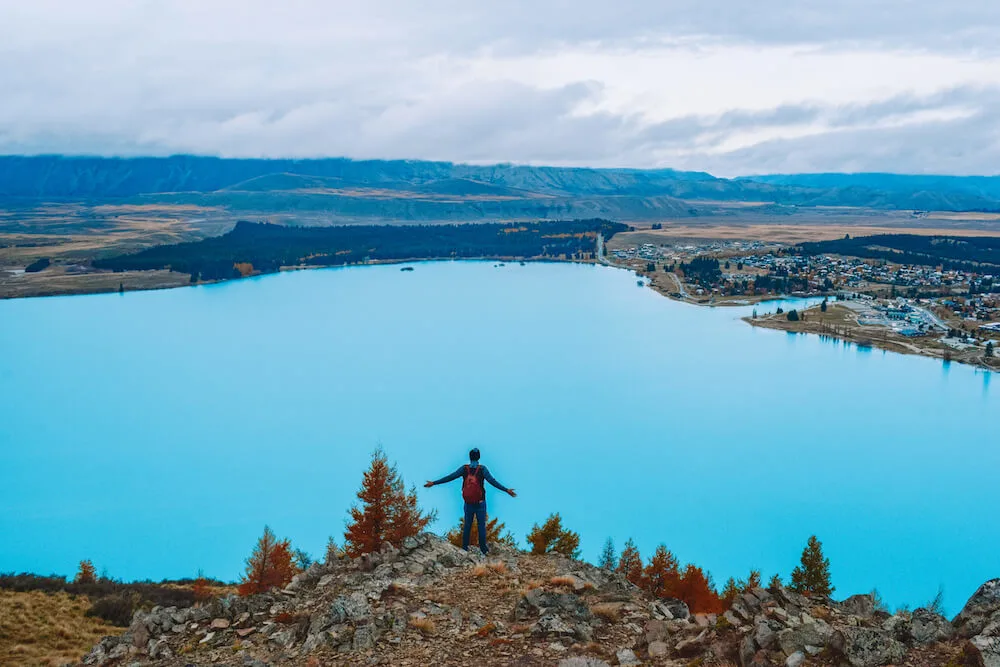
The view over Lake Tekapo from Mt John, New Zealand
To get back to Tekapo Springs you can either do the same trail you did to come up (this is the Mt John Summit Circuit Track) or walk on through the open hills and all along the lake (as you may have guessed, this is Mt John via lakeshore).
We chose the second option, combined to the section we had already walked to reach the peak it then became a 8-km hike that took us around 3 hours.
The walk back along the lakeshore is easier, since it’s longer it’s also less steep which makes it easier on the knees. All along the walk there are stunning views over Lake Tekapo which make the hike easier.
We finished the hike back at Tekapo Springs and went straight to our hostel to chill for a bit before heading out to explore the Tekapo township.
Just to give you a heads up now, there isn’t much to it. It’s a lovely town with some very scenic views (like the Church of the Good Shepherd) but if you’re looking for a wild nightlife, this probably isn’t the place.
| READ MORE: THE BEST DAY HIKES IN NEW ZEALAND |
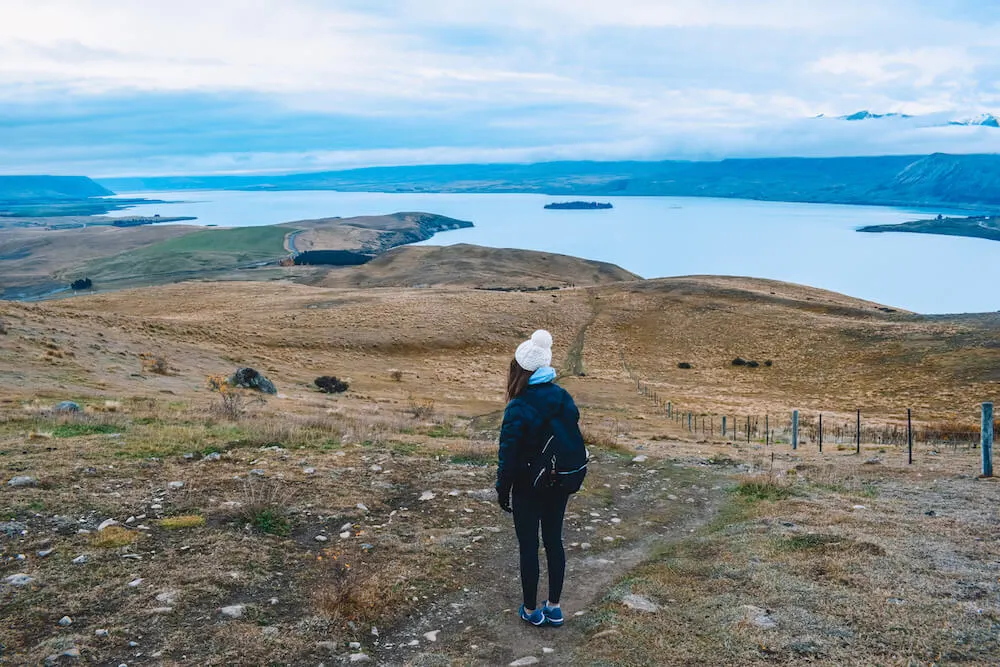
The lakeshore part of the Mt John hike around Lake Tekapo
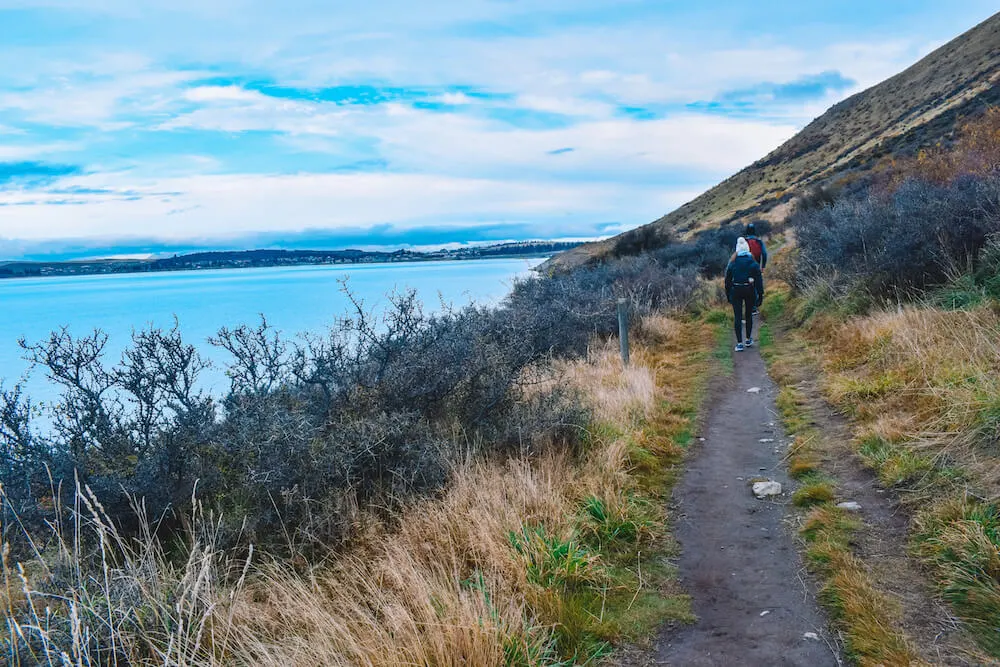
Hiking the Mt John via lakeshore hiking trail in Lake Tekapo, New Zealand
That said, it is actually recognised as one of the best places in the world for stargazing. After dinner we drove back to the Mt John Observatory, in the hope of finding the best stargazing spot.
You can’t drive right up to the observatory by yourself, however if you find anywhere around the gate to park it will be dark enough to see the Milky Way.
We did it independently, but I won’t deny that whenever we heard a noise we’d get scared and get back in our car. Especially if you’re a solo traveller, it might be better to join a stargazing tour.
That way you’ll be right at Mount John Observatory, with a local guide telling you all about the amazing stars you’re seeing.
Click here to book your Mount John Observatory Stargazing tour!
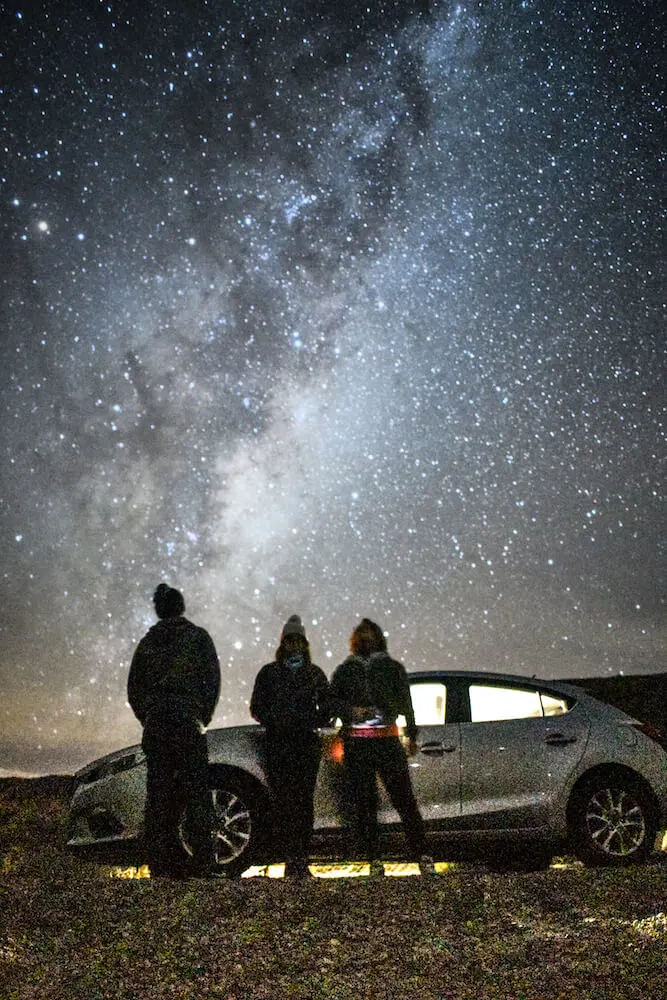
The Milky Way seen from Lake Tekapo, New Zealand, world famous stargazing spot
Where to stay in Lake Tekapo
Lake Tekapo township isn’t particularly big, but there are still a couple of accommodation options for every budget.
Budget: Lakefront Lodge Backpackers – this is where we stayed, it’s located right on the shore of Lake Tekapo, offers both dorms and private rooms, and has a cool common area.
Check prices and availability at Lakefront Lodge Backpackers!
Mid-range: Alpine Studios – these cozy studios are the perfect place to treat yourself, but without breaking the bank.
Click here to book your stay at Alpine Studios in Lake Tekapo!
Luxury: Galaxy Boutique Hotel – this lovely boutique hotels offers spacious rooms with huge windows with a Lake Tekapo view, as well as skylights, so that you can see the Milky Way from your bed!
Don’t miss out, book your stay at Galaxy Boutique Hotel here!
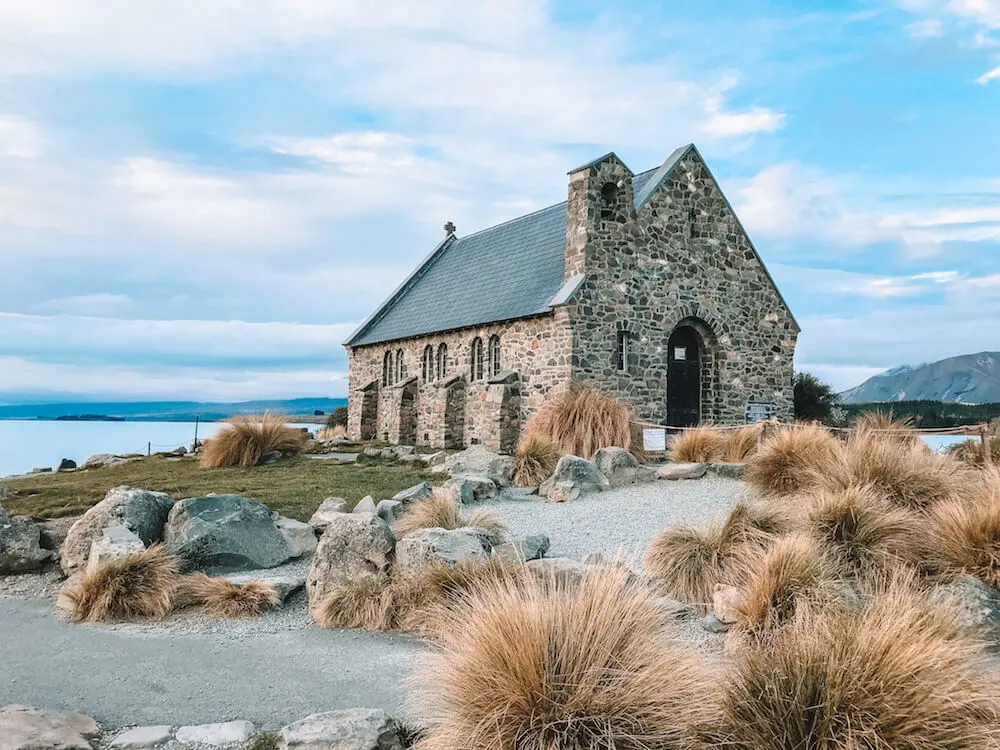
The Church of the Good Shepherd in Lake Tekapo, New Zealand
Day 3: Drive to Mount Cook National Park & hike the Hooker Valley Track
We started day three slightly later since our next destination was only one hour drive away from Lake Tekapo; the famous Mount Cook National Park.
We drove past Lake Pukaki, another stunning lake with turquoise water, and reached Aoraki Mount Cook Village by 10AM.
From the town centre it’s a short 10-minute drive to the White Horse Hill Campground, the starting point of Hooker Valley Track.
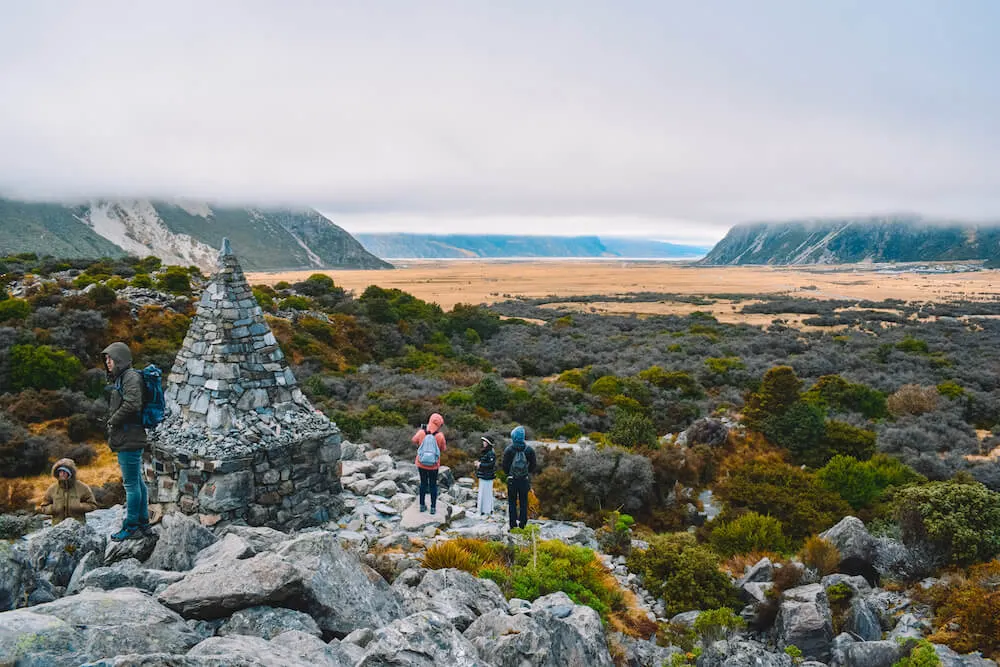
Alpine memorial at the start of the Hooker Valley Track, New Zealand
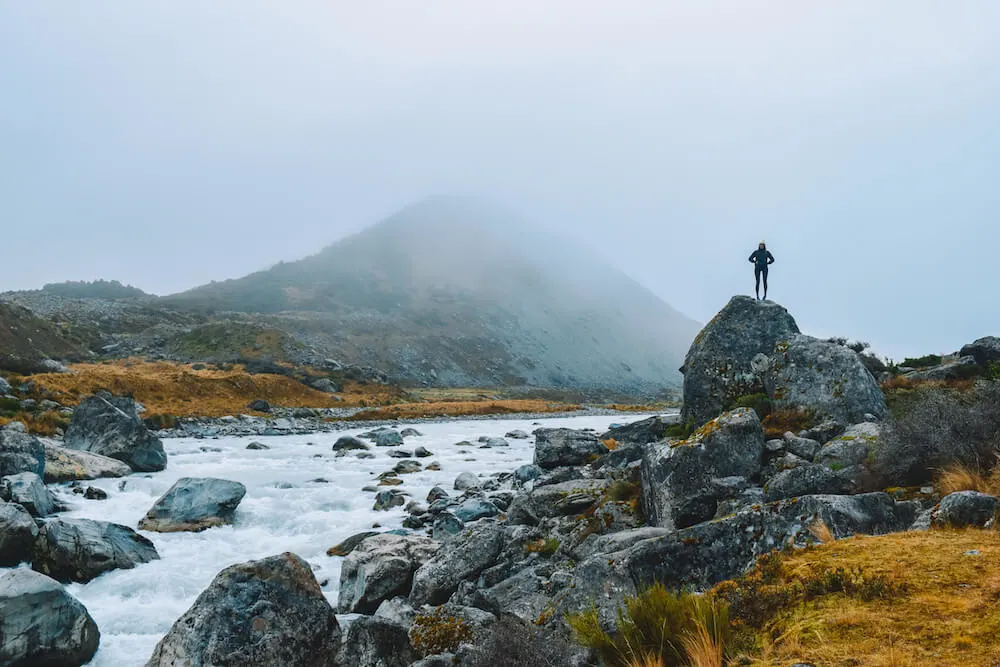
Hooker Valley Track in Mount Cook National Park, New Zealand
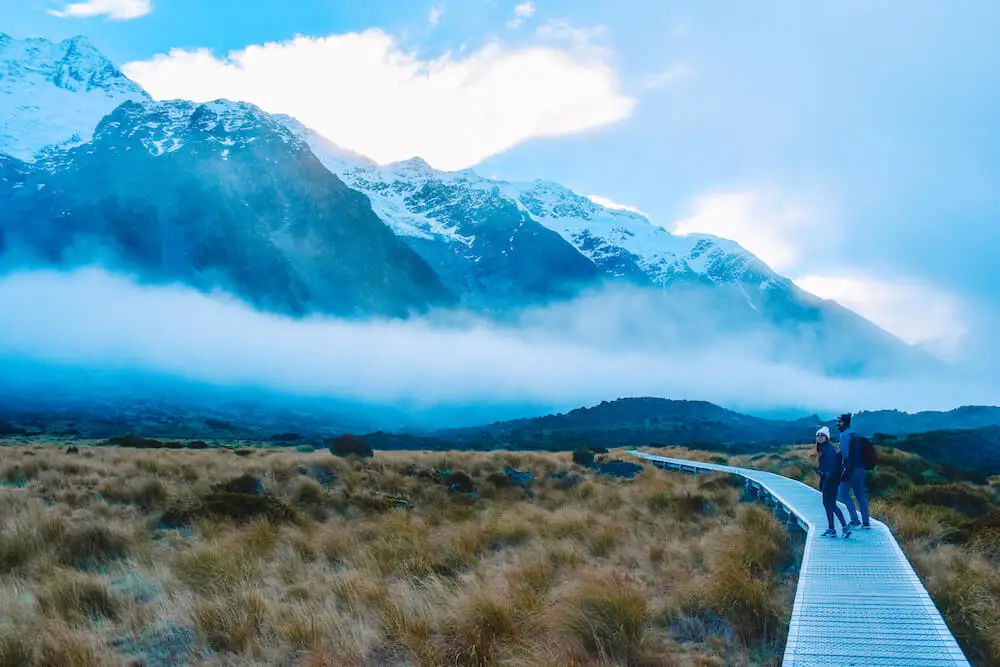
Hooker Valley Track in Mount Cook National Park, New Zealand
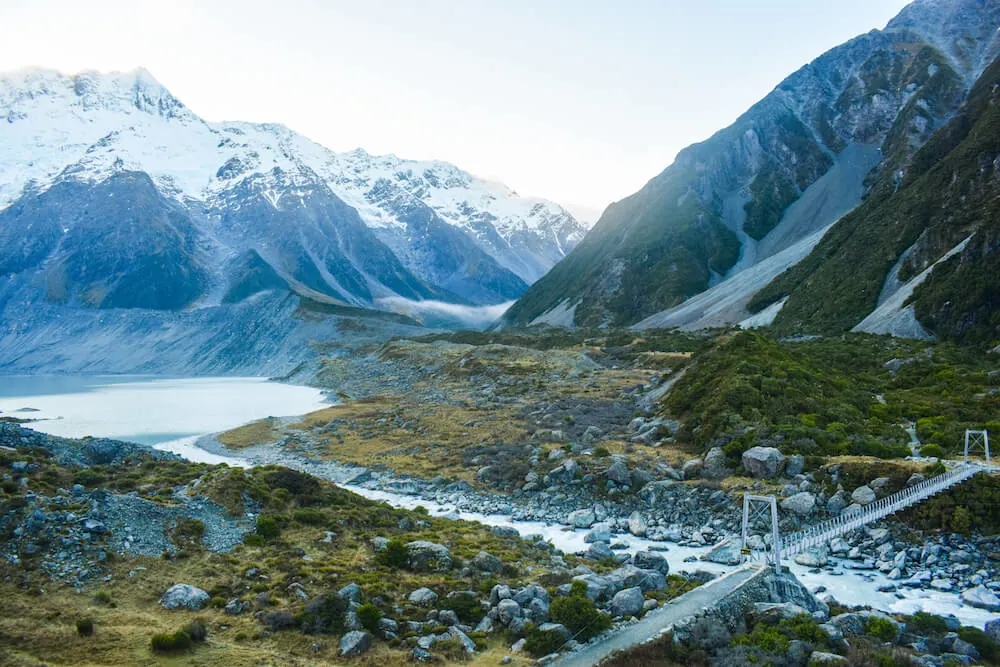
Hooker Valley Track in Mount Cook National Park, New Zealand
Hooker Valley Track is a 10km return hike that takes you through Hooker Valley and ends at Hooker Lake, a lake where you can see icebergs floating around.
The hike is pretty flat for all the 10km, it’s a long walk but not particularly challenging. The valley is surrounded by snow-capped mountains, which add to the beauty and scenery of the hike.
We were moderately unlucky with the weather since it was very cloudy and the clouds were extremely low.
I saw moderately unlucky since it didn’t rain which is good (lucky) but the low clouds meant we didn’t actually have a view of the surrounding mountains (unlucky).
We didn’t even realise what we were missing on until the clouds lifted and we saw just how stunning the surrounding landscape was.
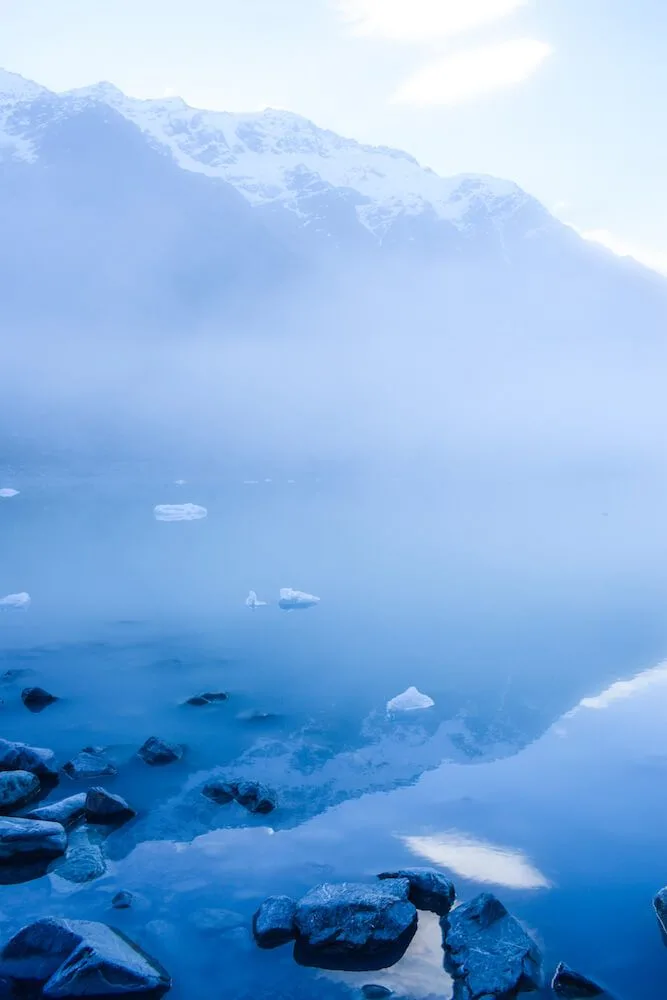
Hooker Lake with the icebergs floating in it
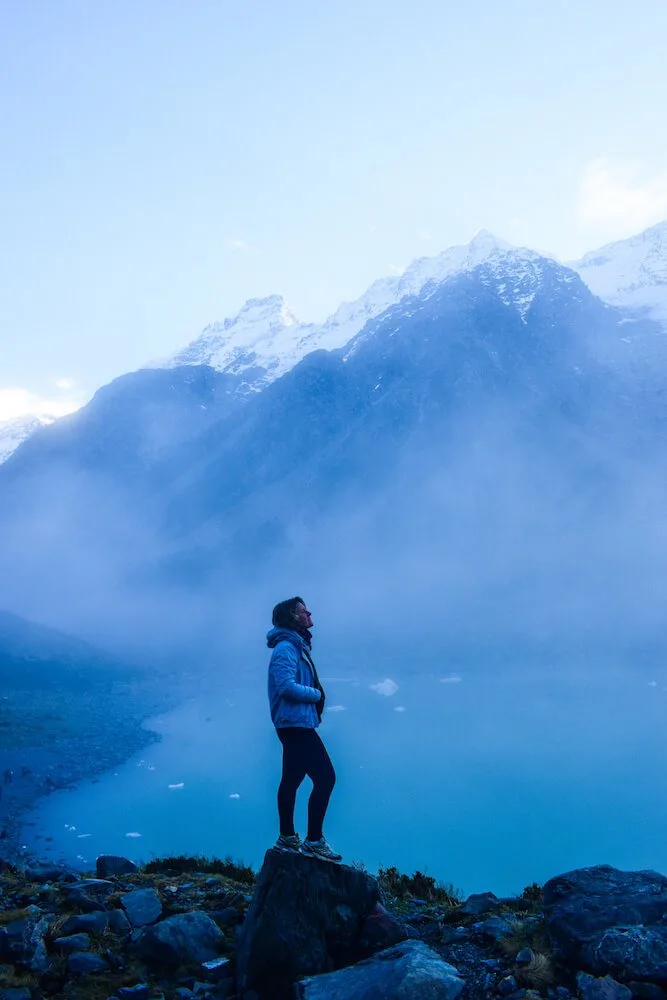
Hooker Lake in Mount Cook National Park, New Zealand
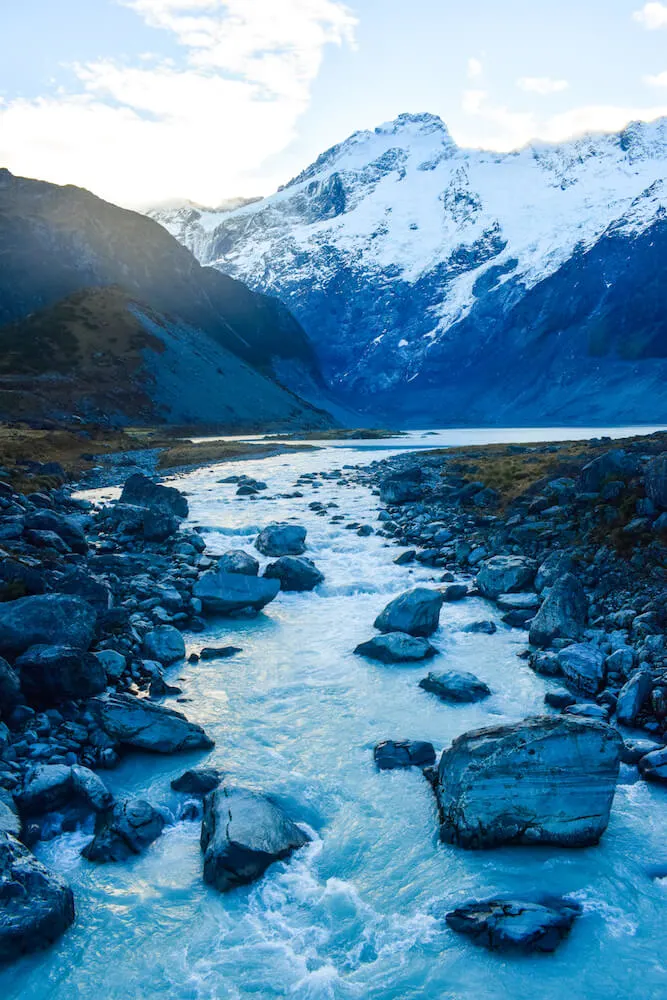
Hooker Valley Track in Mount Cook National Park, New Zealand
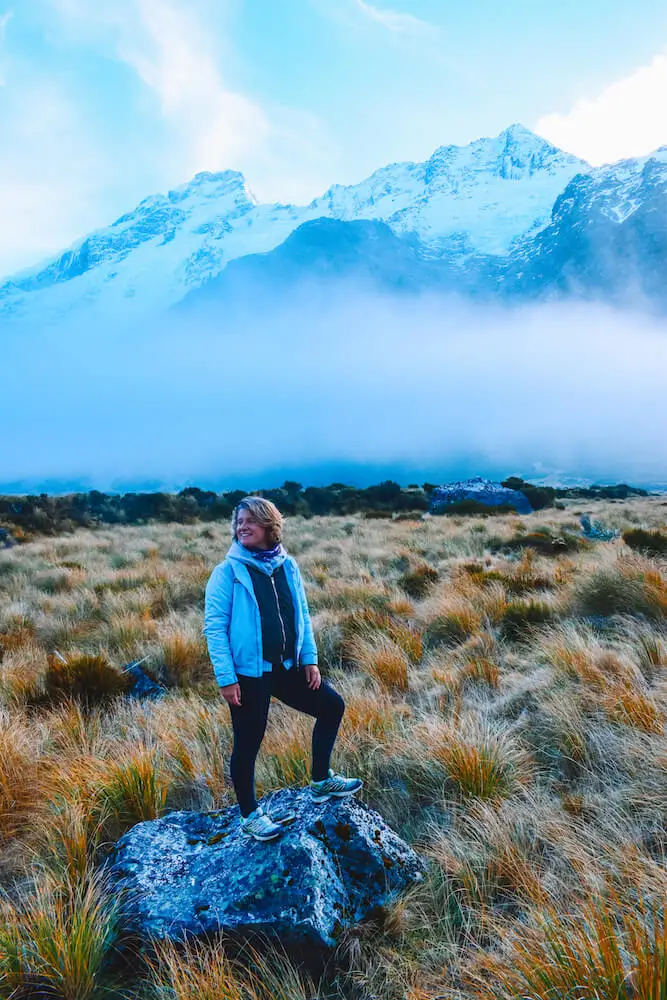
Hooker Valley Track in Mount Cook National Park, New Zealand
If we thought Lake Tekapo was a small town with not much to do, we were not ready for Aoraki Mount Cook Village.
After our hike we asked our hostel recommendations for dinner and they told us there are only two restaurants in town, a higher end one inside the Hermitage Hotel and a cheaper pub.
We went for the pub, which had great burgers and pizzas. Don’t get me wrong, I’m a city girl born and raised, so I love occasionally disconnecting from the chaos of big cities.
We had a chill evening in the common room of our hostel (the YHA Mount Cook) watching Lord of the Rings, the perfect evening for a New Zealand road trip.
Click here to book your stay at YHA Mount Cook!
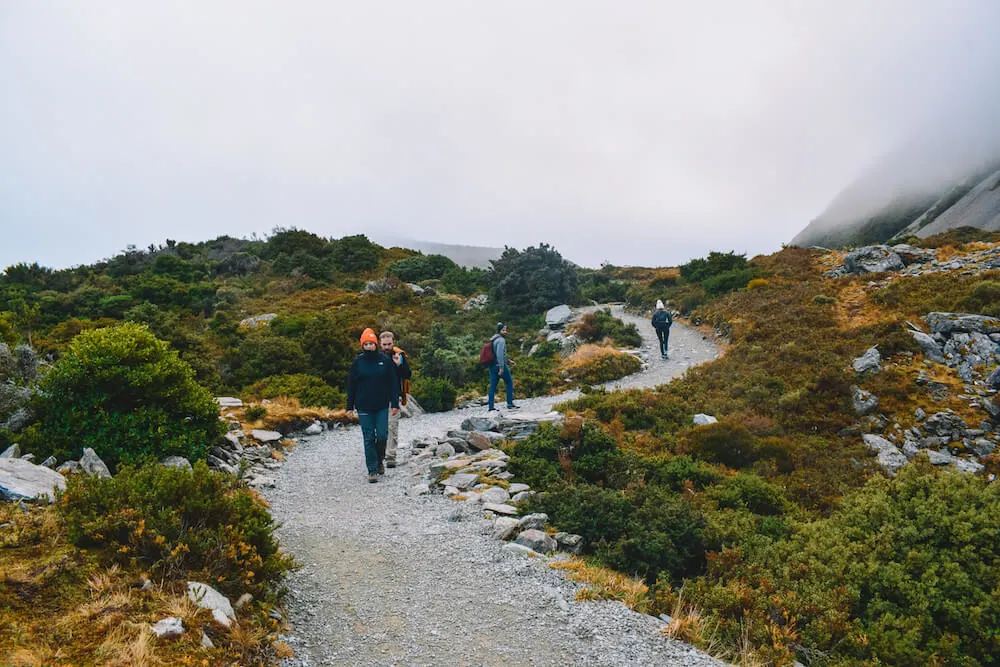
Hooker Valley Track in Mount Cook National Park, New Zealand
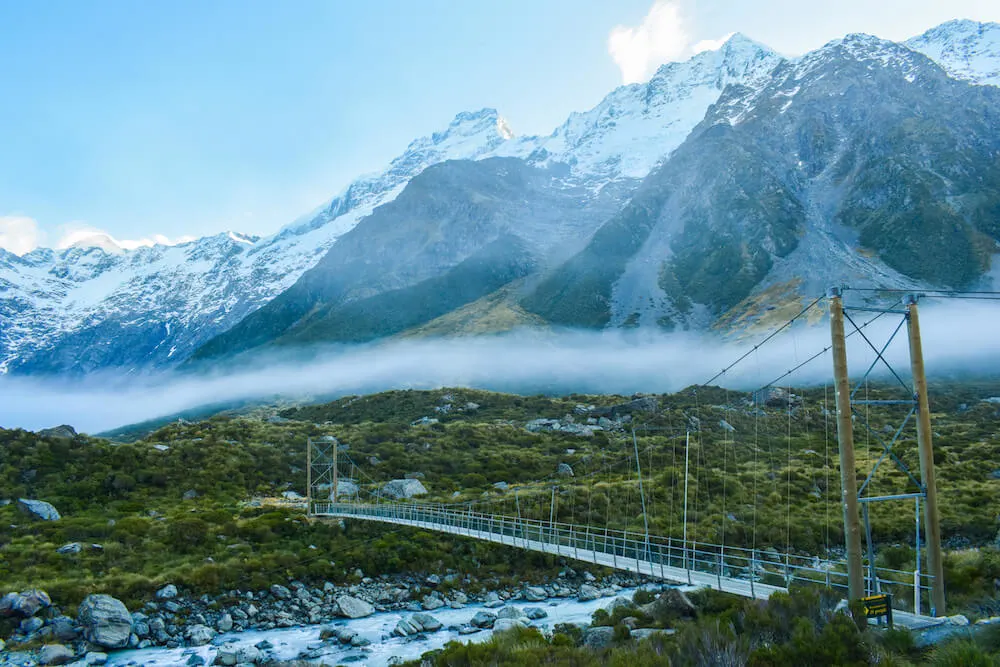
Hooker Valley Track in Mount Cook National Park, New Zealand
Where to stay in Mount Cook Village
As I mentioned already, Mount Cook Village is pretty small and besides the YHA where we stayed, there are only three other hotels. If you don’t fancy staying in a hostel, here are the other hotel options for you.
Mid-range: Aoraki Mount Cook Alpine Lodge – this hotel has spacious rooms, amazing views of the mountains and friendly staff to help book excursions. The perfect mid-range accommodation option!
Click here to book your stay at Aoraki Mount Cook Alpine Lodge!
Luxury: The Hermitage Hotel Mount Cook – if you want to treat yourself, this 4-star hotel, with its spacious rooms, amazing views and top-notch service is the perfect place to do so!
Click here to see prices and availability at The Hermitage Hotel Mount Cook!
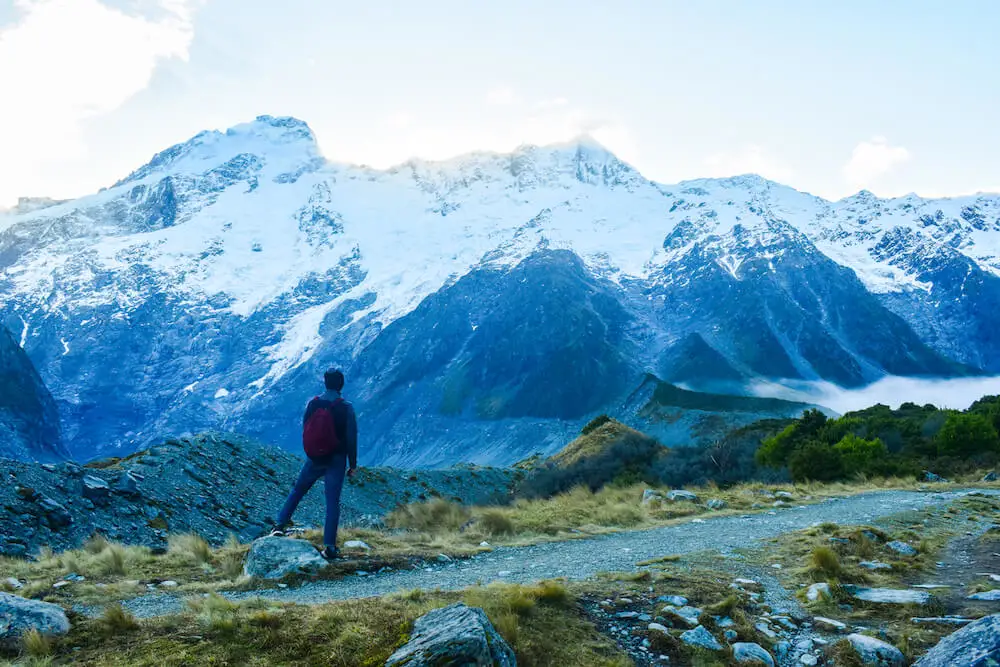
Hooker Valley Track in Mount Cook National Park, New Zealand
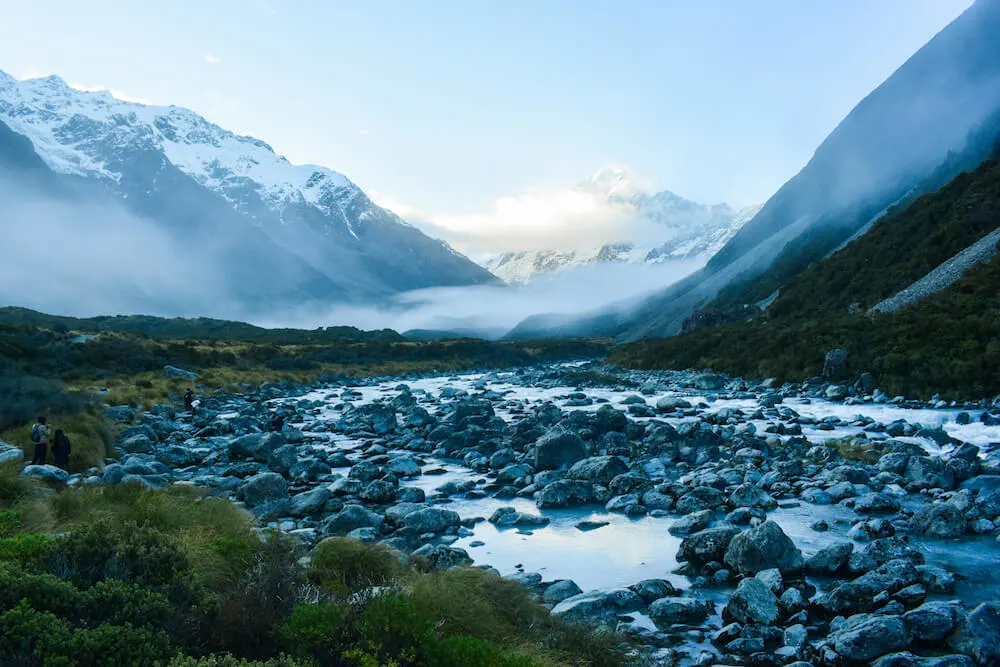
Hooker Valley Track in Mount Cook National Park, New Zealand
Day 4: Hike in Wanaka & drive on to Queenstown
Day 4 was the most intense of our New Zealand road trip. We had ahead of us a 4-hour drive to Queenstown, broken up by a 5-hour hike in Wanaka.
We set off at 7AM so that we could do the first 3-hour leg of our drive to Wanaka and be ready to hike by 10:30AM.
After a quick stop at the information centre to check the conditions of the hike, we decided to tackle Roy’s Peak, a 16km return hike with a 1.2km incline.
| READ MORE: THE ULTIMATE GUIDE TO HIKING ROYS PEAK |
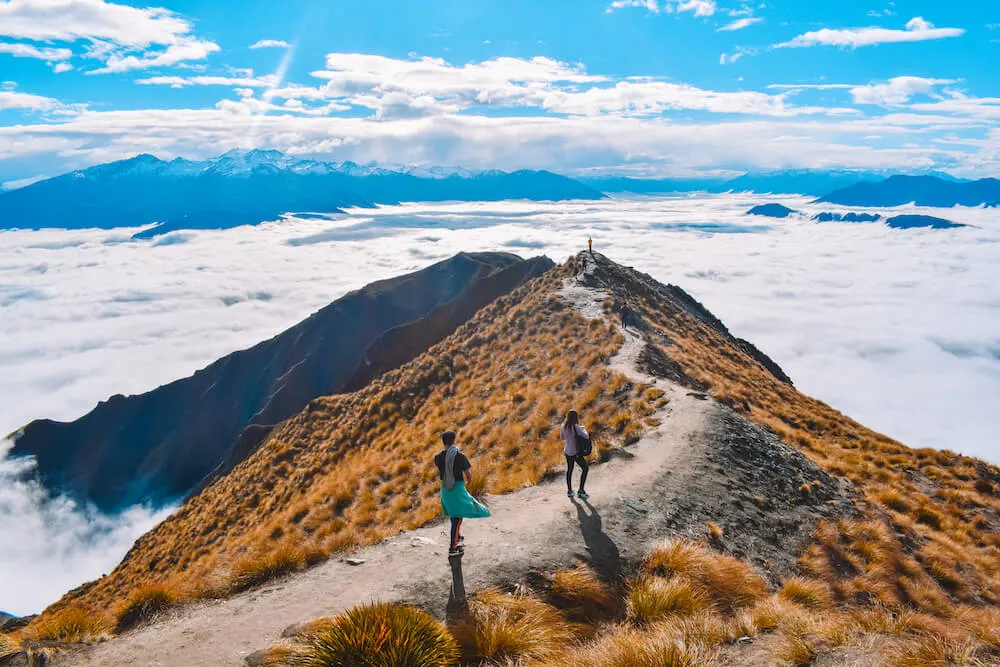
View from the top of Roy’s Peak, New Zealand
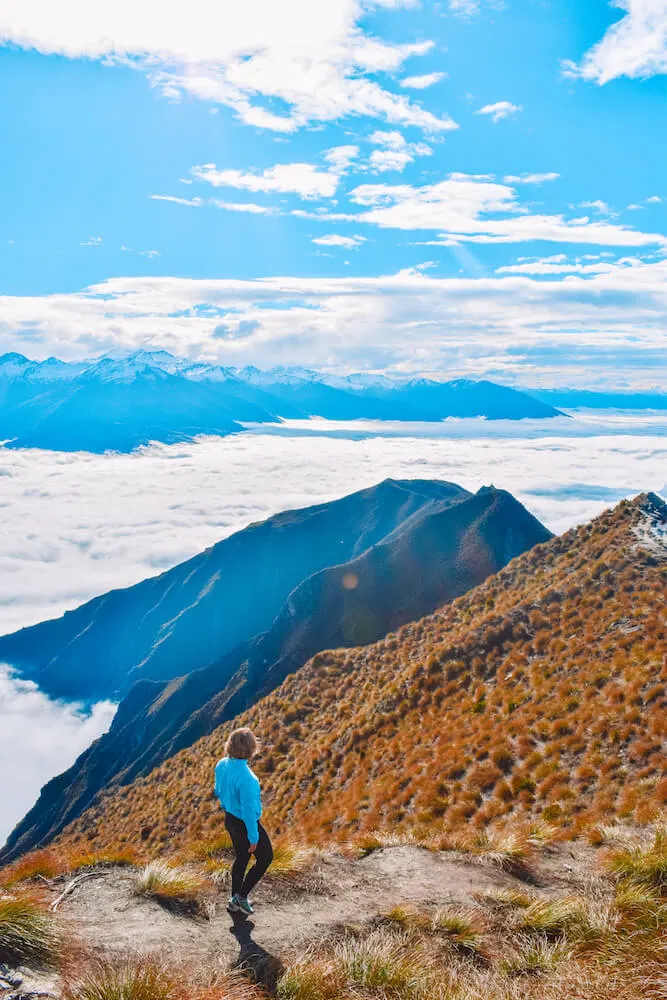
View from the top of Roy’s Peak, New Zealand
I’m not a professional hiker but I have always done a lot of sports growing up and I consider myself a moderately fit person. And yet I found Roy’s Peak incredibly tough.
We knew there was a 1.2km incline before setting off but I guess we didn’t realise just how steep that was. We thought the way up would be steep at parts and flat in others, but we were wrong.
There is no section of the hiking trail at any point in the 8km that is flat. It is all at an incline.
By the time you reach the peak you will be pretty tired and your quads will start to burn, but the view over the surrounding mountain peaks is well worth the hike.
We were there on a cloudy day and were actually unable to see the view over Wanaka and the surrounding lakes (which is meant to be the best part, ah well) but even being above the clouds was very beautiful.
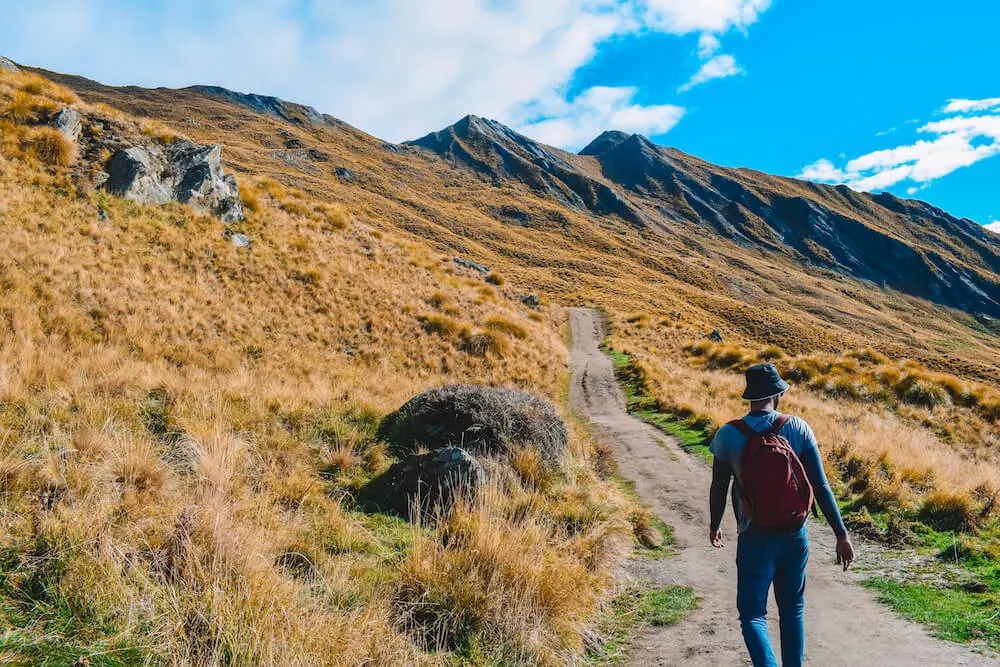
Hiking up Roy’s Peak, New Zealand
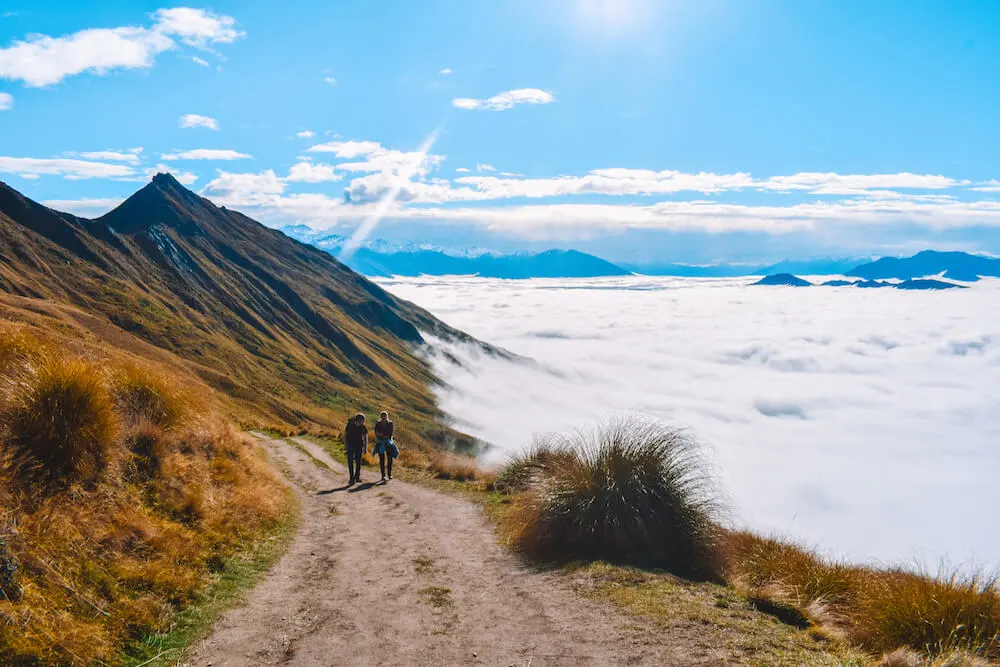
Hiking up Roy’s Peak, New Zealand
I found the hike back down actually harder than the hike up. While it’s less tiring and won’t get you panting it will be tough on the knees.
The clouds had also partially lifted while we were hiking up which meant we had a bit of a view on the way down.
After this knackering hike we drove on for another hour and a half to Queenstown, where we checked into a private room at Nomads Queenstown Backpackers.
Check the latest prices and availabilities at Nomads Queenstown Backpackers!
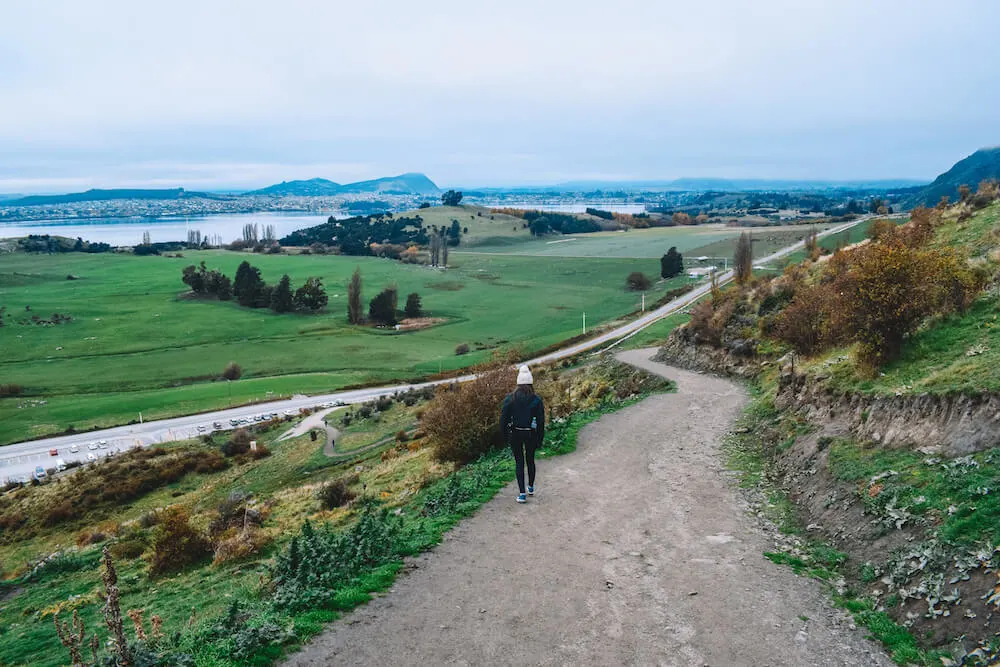
View over Wanaka from Roy’s Peak once we were beneath the clouds
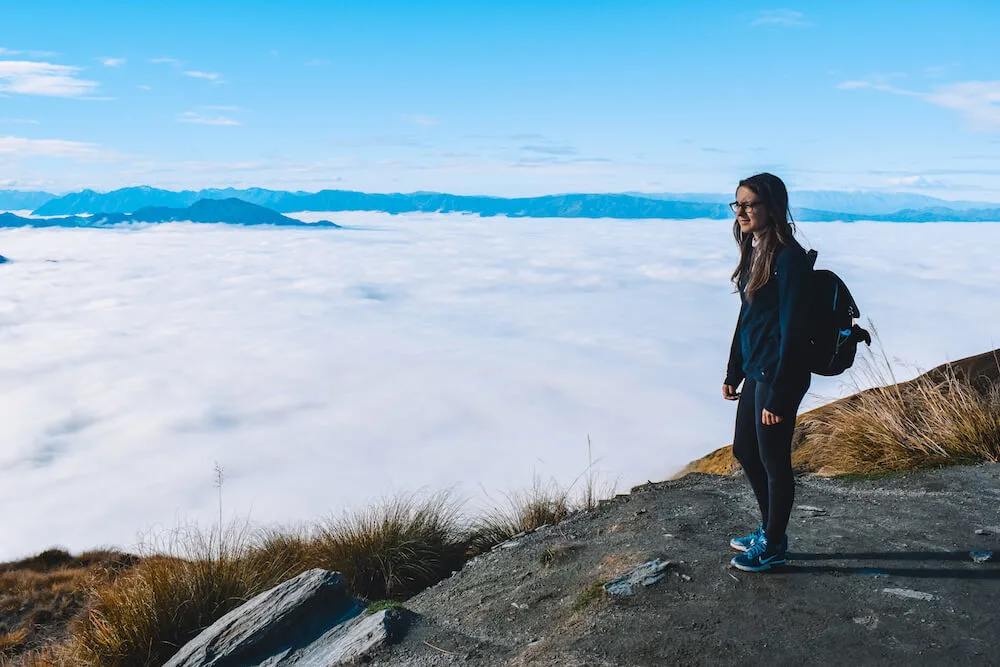
High above the clouds that were hiding our view of Wanaka
Where to stay in Queenstown
If hostels aren’t your thing, I have listed below a couple more accommodation options for other budgets.
Mid-range: Heartland Hotel Queenstown – this lovely hotel has both rooms and chalets, perfect for bigger groups or families, and is a great place to treat yourself, without breaking the bank.
Click here to see prices and availability at Heartland Hotel Queenstown!
Luxury: Oaks Queenstown Shores Resort – this is the perfect place to treat yourself and relax after all these tough hikes. Amazing lake views, spacious rooms and a 24/7 reception, what more could you need?
Click here to book your stay at Oaks Queenstown Shores Resort!
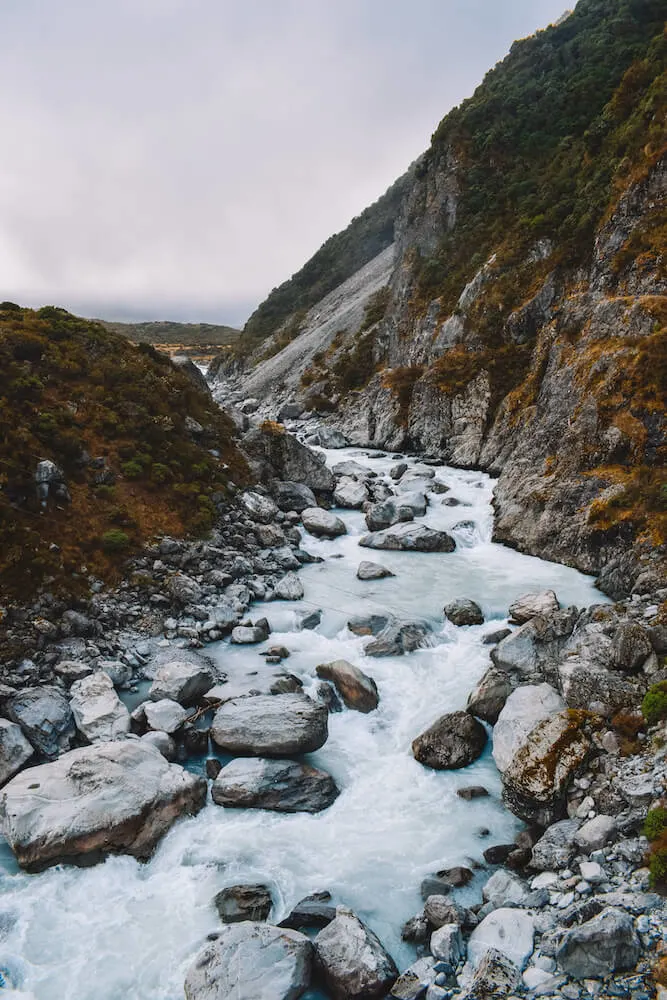
Hooker Valley Track in Mount Cook National Park, New Zealand
Day 5: Adventure activities in Queenstown
Queenstown is known as the adventure capital of the world. On the fifth day of our trip we decided to take a step back from driving and spend some time adventuring in Queenstown.
My friends and I actually separated for this day and all tried out different activities.
Laura went on an all-day climbing session and Ramis decided to go skydiving and bungee jumping on the same day (when you’re in the adventure capital of the world for only 3 days, you have to pack them with activities)!
What did I do? I went to a famous chocolate store, and hiked the Tiki Trail to a viewpoint over Queenstown. It was my first solo hike, and I actually had a great time hiking alone, I even made new friends along the way.
Click here to book your skydive experience in Queenstown!
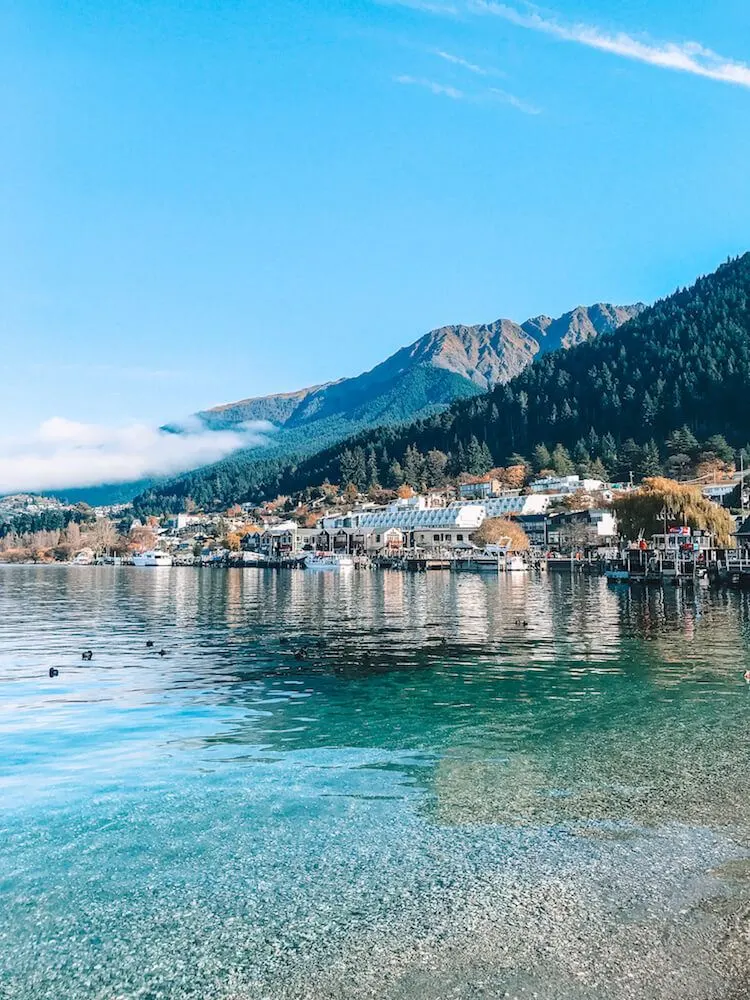
Queenstown town centre
There is a gondola in Queenstown called the Skyline that will take you to the top of Bob’s Peak, where you can enjoy a beautiful view over Queenstown, the lake and surrounding mountains.
The gondola is pretty expensive; it’s 50 NZD for a return trip or 25 NZD one way. When I got to the base of the gondola I realised there was a sign showing the route for the hiking trail that would take you to the top of the gondola.
So despite being knackered from the previous days hikes, I decided to hike up a hill for 30 minutes and save myself 50 NZD.
The hike is called the Tiki Trail and there are signs on the way up to indicate the way. It’s a short hike, only one-hour return, but it’s pretty steep on the way up.
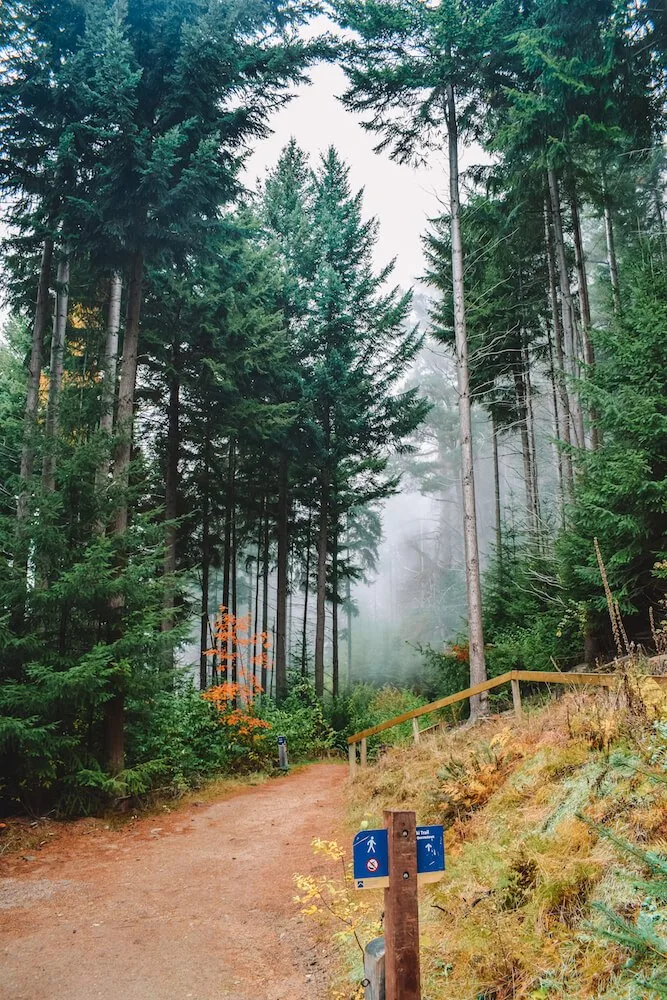
Hiking the Tiki Trail in Queenstown, New Zealand
It was a sunny day when I set off however on the way up the clouds started rolling in and by the time we made it to the top there wasn’t actually a view.
The whole peak was shrouded in clouds, I couldn’t even see the gondola right beneath me. I was glad I hadn’t paid 50 NZD just to see some clouds!
After the hike I spent some time wandering around the shops in the centre of Queenstown.
Whether you just want to spend a day chilling in the city, doing the hikes around Queenstown, or trying some of the adventurous activities here, I would definitely schedule a whole day in your New Zealand road trip itinerary just for Queenstown.
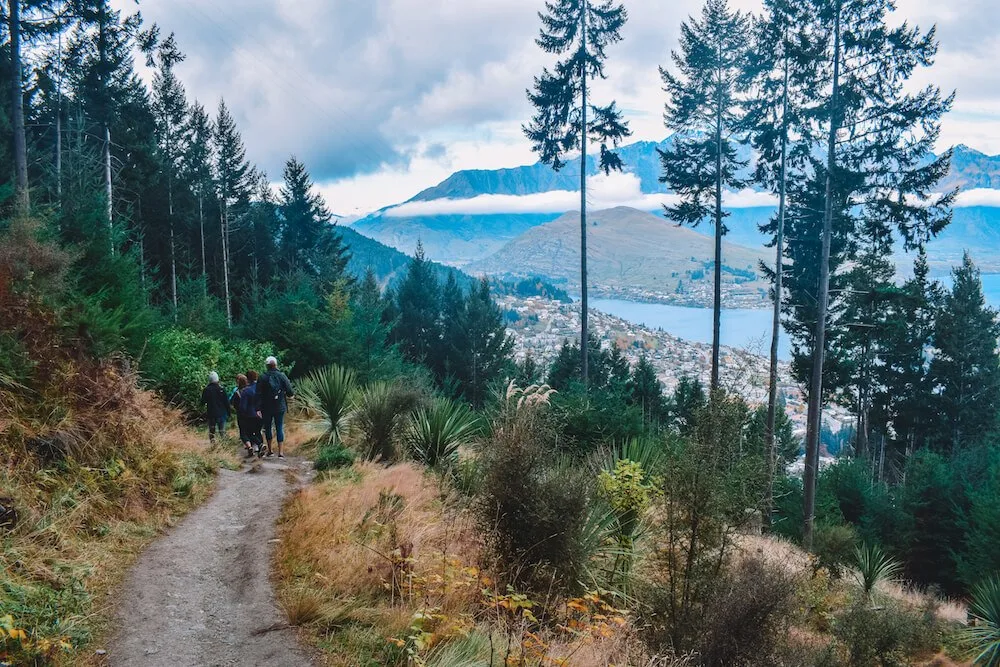
Views over Queenstown from the Tiki Trail
Day 6: Milford Sound cruise
Close to Queenstown is Milford Sound; a fjord that has been acclaimed as New Zealand’s most famous travel destination and the 8th wonder of the natural world. With a premise like that, we couldn’t miss it!
We decided to do a tour to Milford Sound, even if we had our own car and could have driven there, since it would have been a lot of driving in one day (4 hours each way from Queenstown).
The roads are also very winding and tight, meaning it’s a tough drive if you’re not a good driver.
We decided to do a tour so that we could sit back and enjoy the stunning views, instead of having to focus on driving and making sure we were on the right road.
Click here to book your tour & cruise of Milford Sound!
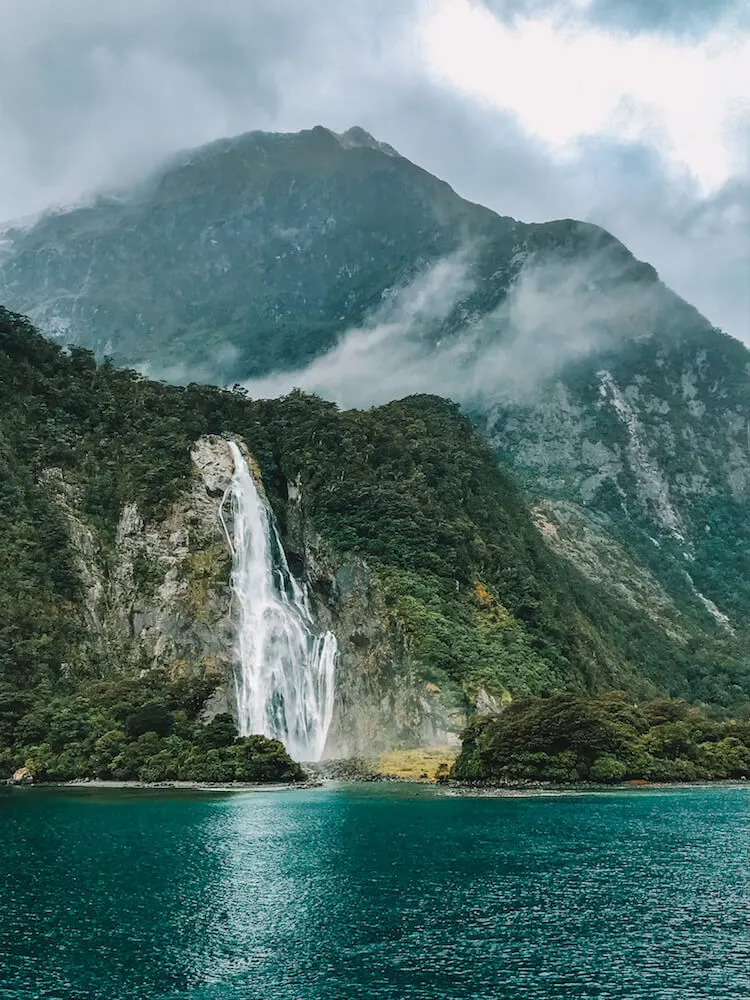
Lady Elizabeth Bowen Falls in Milford Sound, New Zealand
Once we arrived in Milford Sound we embarked on a two hour cruise of the fjord. Despite being on the other side of the world, it reminded me a lot of my Norwegian fjords cruise.
The towering cliffs, huge waterfalls and lush green vegetation are a true natural wonder. There are coffee shops on the boat so that you can buy lunch if you didn’t bring one with you.
We were a bit unlucky in that it was a rainy day and the low clouds covered the peaks of the mountains, however I feel like they also added to the mood of the location.
| READ MORE: THE BEST MILFORD SOUND TOUR & CRUISE FROM QUEENSTOWN |

Cruising in Milford Sound, New Zealand
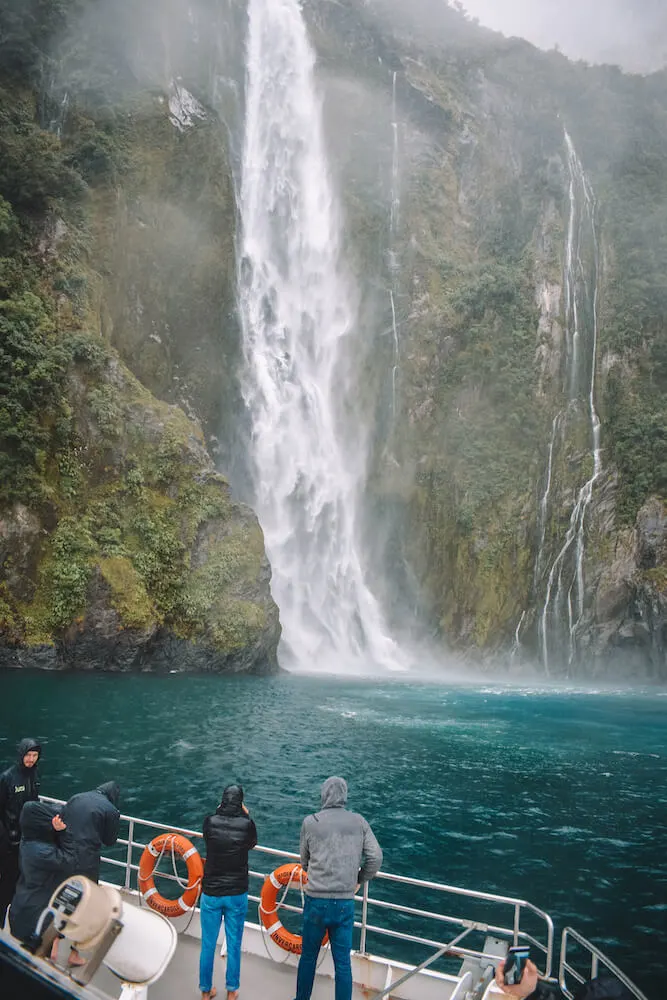
Stunning waterfalls in Milford Sound, New Zealand
Day 7: Last hike & fly out from Queenstown
On the last day our flight out of Queenstown was at 9PM, which gave us another full day in Queenstown.
Since we hadn’t actually been able to get a view when we hiked the Tiki Trail on Bob’s Peak, we decided to give Queenstown hikes another shot.
We checked out of Nomads Queenstown early so that we would have plenty of time to do the hike and without having to rush to the airport.
We did the Queenstown Hill hike, a trail that takes you to a different viewpoint over Queenstown.

Mountain views from Queenstown Hill, New Zealand
The Queenstown Hill hike is a return trail that can take between 1.5 to 3 hours, depending on which route you take.
At one point the trail splits up and branches off into a shorter but steeper route, and a longer but more level one. The total length of the trail is between 1.7lm and 2.5km depending on which routes you take.
We personally did the longer but more level one on the way up and the steeper but shorter on the way down.
We wanted to be able to see both trails and we figured it was the best way to do it that wouldn’t exhaust us too much.
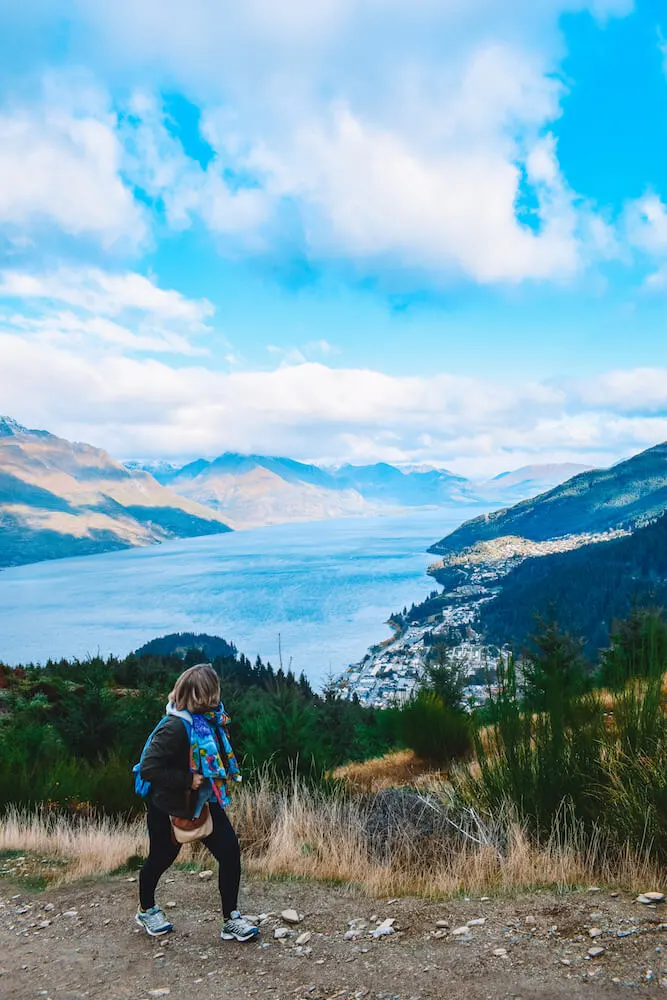
Hiking up Queenstown Hill, New Zealand
There is a first viewpoint where the trails meet again at a metal sculpture called the “Basket of Dreams”.
From here you can keep hiking to a more elevated viewpoint, which will give you an epic 360° view over both Queenstown and the surrounding valleys and mountains.
The view over Queenstown isn’t quite as good as it’s partly hidden by the hill that you just hiked up, however the views on the other side over the mountains are simply stunning.
I think even if we had been able to see the view from Bob’s Peak, this view would have still been better thanks to the variety and 360° angle.

The “basket of dreams” and the view from Queenstown Hill
We managed to get back to Queenstown around 12 and we decided to try Fergburger. Fergburger is a burger place in Queenstown, which has a reputation for being the best burger in the world.
With a premise like that, we couldn’t leave New Zealand without trying it! Only issue is that queues and waiting time usually start at 30 minutes and can go up to a couple hours.
We were not willing to wait that long however we were lucky that there was no queue after our hike so we managed to try these famous burgers and fuel up after all the walking.
In the afternoon we paid a quick trip to Arrowtown, a small town near Queenstown that we had been recommended.
It was very cute but to be entirely honest, there wasn’t much going on. From there we drove straight to the airport to drop off our JUCY World car and get ready for our flight.
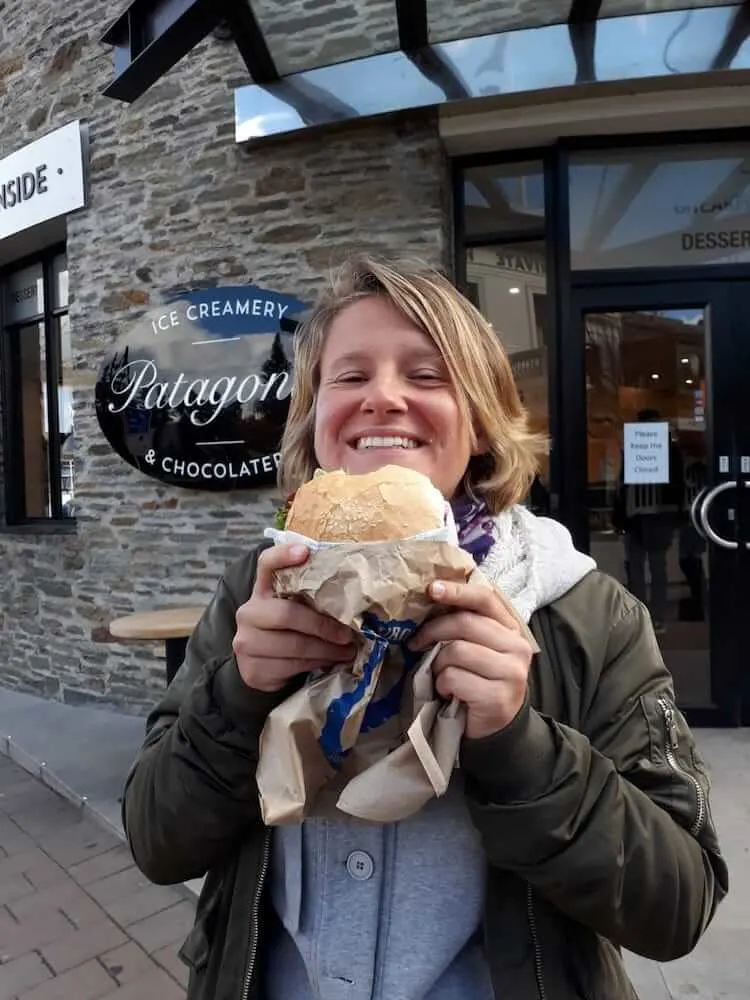
Me looking incredibly happy with my Fergburger after hiking for 3 hours
Final thoughts on the ultimate New Zealand South Island 7-day itinerary
I hope my New Zealand 7-day itinerary was useful in giving you an idea of how you could spend one week in New Zealand and do your own South Island road trip.
Have you been to New Zealand before? How did you find it? Let me know in the comments below!
I personally loved the nature and stunning views in New Zealand, it’s definitely a country I want to visit again one day.
Next time I hope I get to visit also the North Island of New Zealand. If you’re looking for more New Zealand inspiration check out this New Zealand ultimate road trip guide.
Enjoyed reading my New Zealand South Island road trip 7-day itinerary? Pin it!


Aastha
Tuesday 14th of May 2019
Hey Greta! Absolutely love the itinerary. And the pictures are breathtaking. I'm travelling to New zealand in June! Do you think this itinerary would work during the winter season too? I want to go for all the hikes but I'm apprehensive if I'd be able to do that with the weather.
Greta
Wednesday 29th of May 2019
Hi Aastha, glad you like my pics and blog! I think the overall itinerary will be fine, but for the individual hikes it really depends on the weather leading up to the day you want to do the hike. Some years it can still be quite hot in June whilst others it will get colder earlier. We were there around mid-May. It's hard to judge from here, personally I would ask local tourist information desks when you're there :) Hope this helps and that you have an awesome time in New Zealand!
Karen
Saturday 5th of January 2019
Hi Greta, May i ask for the Milford day trip, do you still remember which company you joined? There are so many over the internet but I'm not sure which one to take. There are 4 of us (2 adults 2 kids) hence wondering is it worth taking the day trip OR self drive is better? Thank you.
Greta
Saturday 5th of January 2019
Hi Karen, we did the day trip from Queenstown to Milford Sound with JUCY (the same company we had rented our car with). We chose to do an organised tour since it's quite a lot of driving in one day (7+ hours), none of us felt confident enough to drive for that long in one day and we didn't have enough time to spend a night in Milford Sound. If you're not tight on time I would probably recommend doing that, self drive and staying a night there. If not a tour is probably the easiest option, the day trips all offer similar experiences really, I would just go for the one that has the closest pick up point to your hotel. Hope this helps :)
Katelyn
Tuesday 21st of August 2018
I am preparing to go to NZ in October and really appreciate your thorough review of the hikes! We would like to do some hikes in our time there but are not experienced hikers. It seems like many people who visit NZ are experienced, so having your perspective on how easy/tough the trails were, and the associated payoffs (the views!) is super helpful! It looks like you're wearing hiking boots or shoes in the photos. Did you find those necessary for the hikes you did, not including Roy's Peak? Based on your review and others i've read, Roy's Peak is definitely beyond our ability so we will skip it. Neither my husband nor I own hiking boots, and I'm wondering if it is worth the monetary investment and the room in our suitcases? Thanks again!
Greta
Tuesday 21st of August 2018
Thanks, glad you could find my post useful! I personally did all the hikes (including Roy's Peak) in trainers and so did my friends. Hiking boots are obviously an added benefit for hikes but if you have a comfortable pair of trainers you can get away without purchasing hiking boots. You should still check the weather forecast for when you visit though and make sure it's not raining, snowing etc and that you have appropriate footwear for the conditions you'll find. Hope you have an amazing time in New Zealand! :)
Celia
Saturday 16th of June 2018
The ultimate road trip! Beautiful photographs. Will definitely refer back to your itinerary when I finally make it to NZ. Thanks!!
Greta
Saturday 16th of June 2018
Haha it really was the ultimate road trip! Thanks for the nice comment, glad you like my work and hope you'll find it useful in planning your own New Zealand road trip!
claudi
Saturday 16th of June 2018
Wow, I haven´t been to New Zealand yet but your pictures look stunning. It must be a beautiful piece of earth. Thanks for sharing.
Greta
Saturday 16th of June 2018
Thanks for the lovely comment, glad you like my photos!